In this post I’m sharing my prototyping for integrating a LED + battery into an embroidery design, and wanted to get a little more elaborate than just using an adafruit sewable LED with an external battery. Ideally I wanted something that can be integrated in a T-shirt or at least a sweater.
After reading about this topic during the last year, what caught my eye was a seemingly forgotten idea of building LED sequins using small silver beads from Buechley and Eisenberg in 2007.
I had done some preliminary experiments with these before and deemed it viable. Initial learnings from the research and experiments:
- Conductive thread is not regular thread. It’s thicker and (while flexible) not as easy to bend.
- To protect the circuit and make it washable, a satin column over the conductive thread will help.
- SMD components are tiny, soldering to the silver beads takes some practice, but is doable.
Circuit Design
I started, by sketching out a rough design for my prototype in inkscape:

- Conductive thread will go along circuit wires.
- The positive side of the battery will be at the back of the fabric.
- I’ll need a separate fabric for the negative side of the battery and make sure that wires don’t touch.
- The LED sequin will go behind the lamp mark. I’ll try to combine resistor and LED into one sequin, since I’ll be trying to minimize the number of conductive threads and knots I have to deal with.
Embroidery Planning
After firing up inkstitch (and fixing some bugs in the project for good measure), I went to design to different layers.
-
The first pass would mostly be stitching support (semitransparent in the picture), essentially a widely spaced zig-zag column. After stitching I would then manually sew the conductive thread and add the additional backfabric. I originally planned for the backfabric to only cover the battery, but it’s actually better to cover the whole area or at least the parts that contain metal components. You probably don’t want the conductive thread or LED sequin (I still use leaded tin), to touch your skin.

1st layer. Left: inkscape design (inkstitch annotations are on the individual svg elements) the red & yellow threads are just for illustration; Right: generated stitch plan
-
The second pass adds the protective satin column and sews front and back fabric together creating the battery holder. Notably this layer cannot include anything that blocks the battery entry path or is on top of the battery holder or the LED sequin, so anything like that MUST go into the first layer. However I added the lamps’ “X” part of the lamp in this layer, carefully instructing inkstitch not to put the needle into the inner parts of the lamp’s circle. I was hoping this would give additional support (+ it was helping me avoid another thread cutting point).

2nd layer
While preparing the layers, I made sure to minimize thread jumps or cuts by reordering objects and reversing paths where necessary or adding manual connecting running stitches.
Execution
First layer
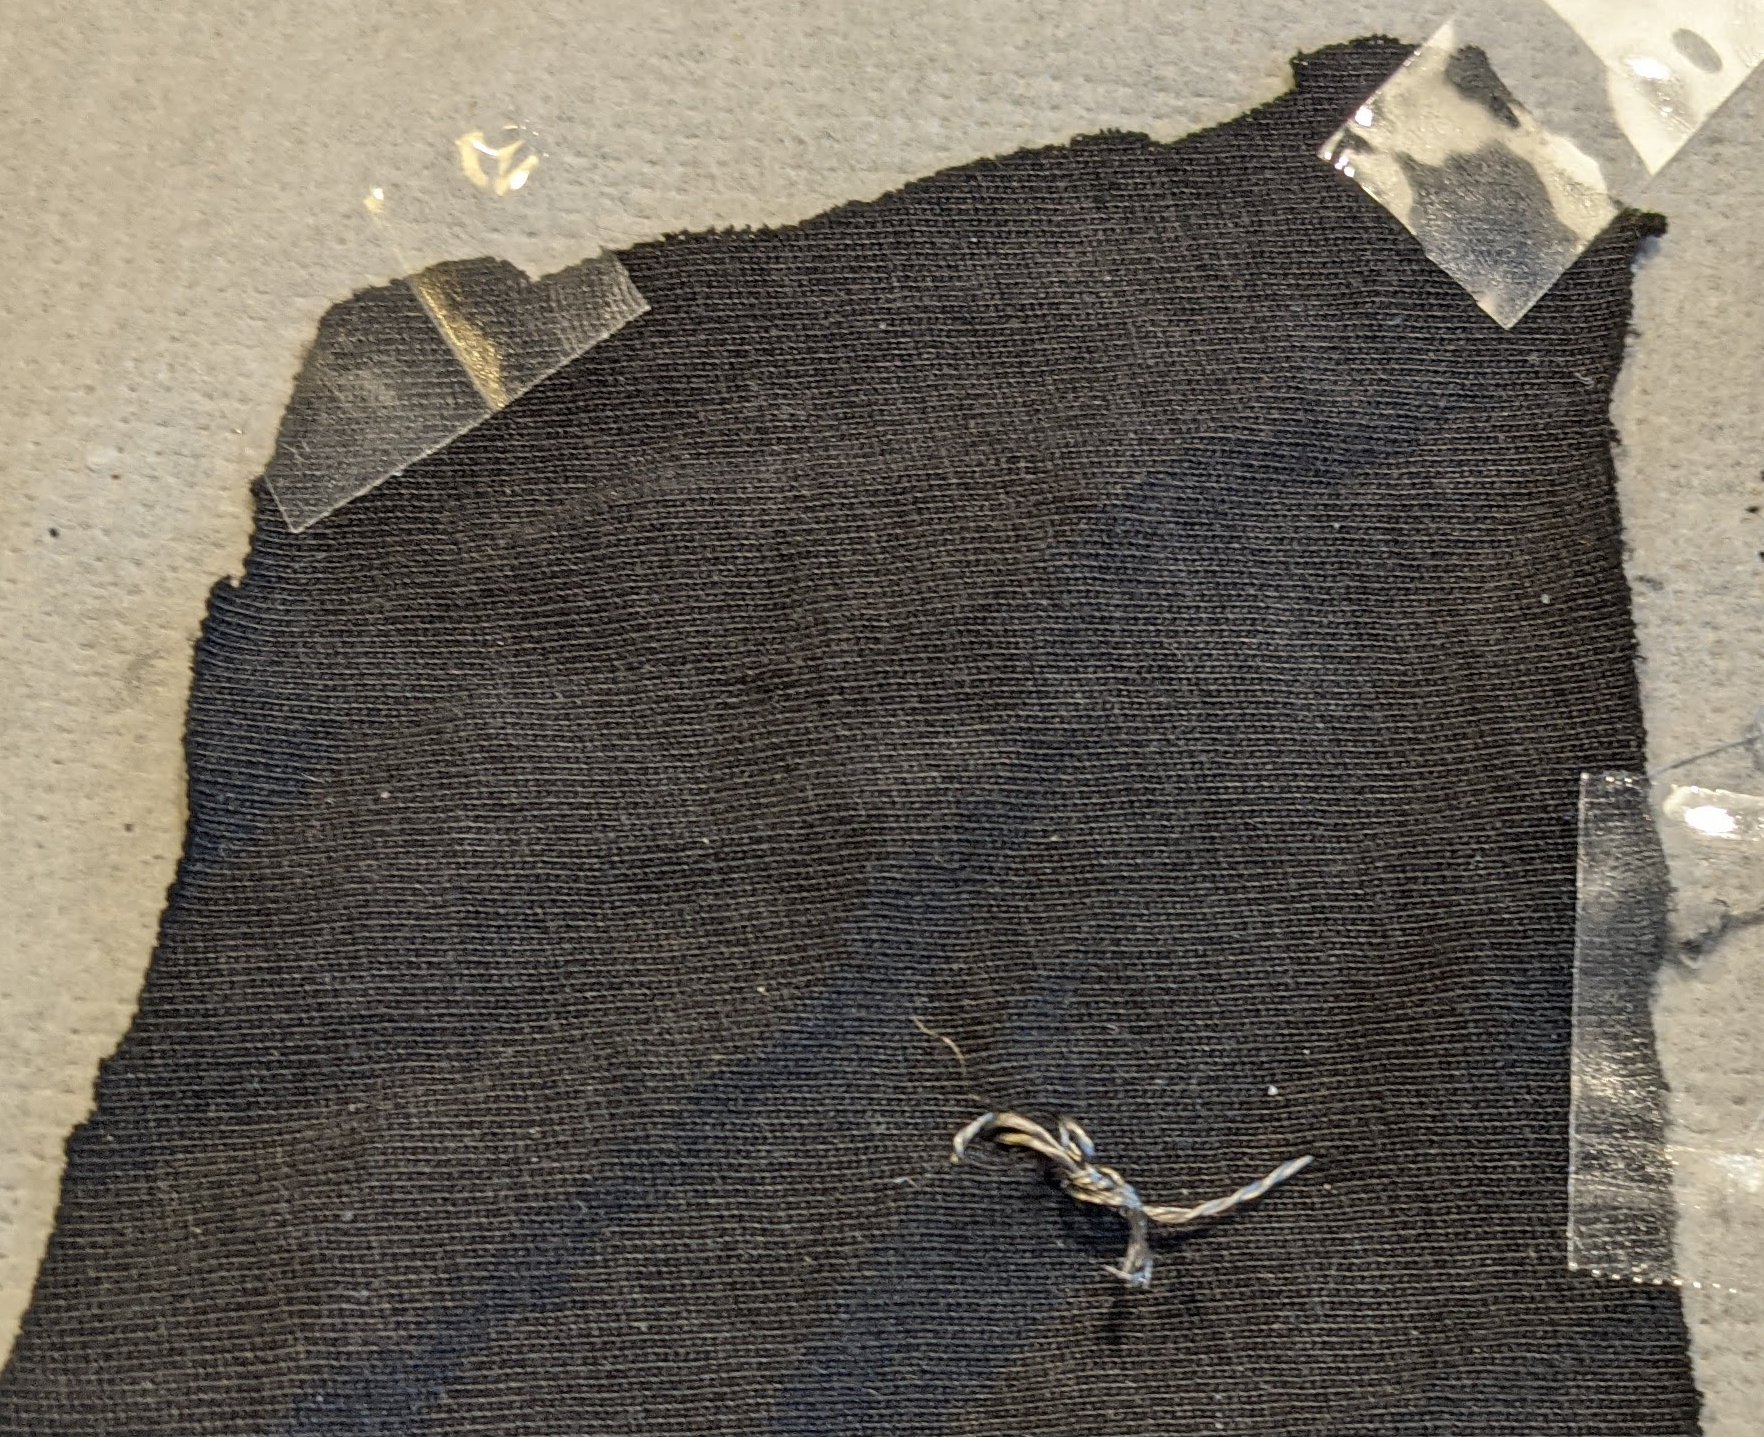
For the prototype I chose an old T-shirt and put it into a frame along with some stabilizer.
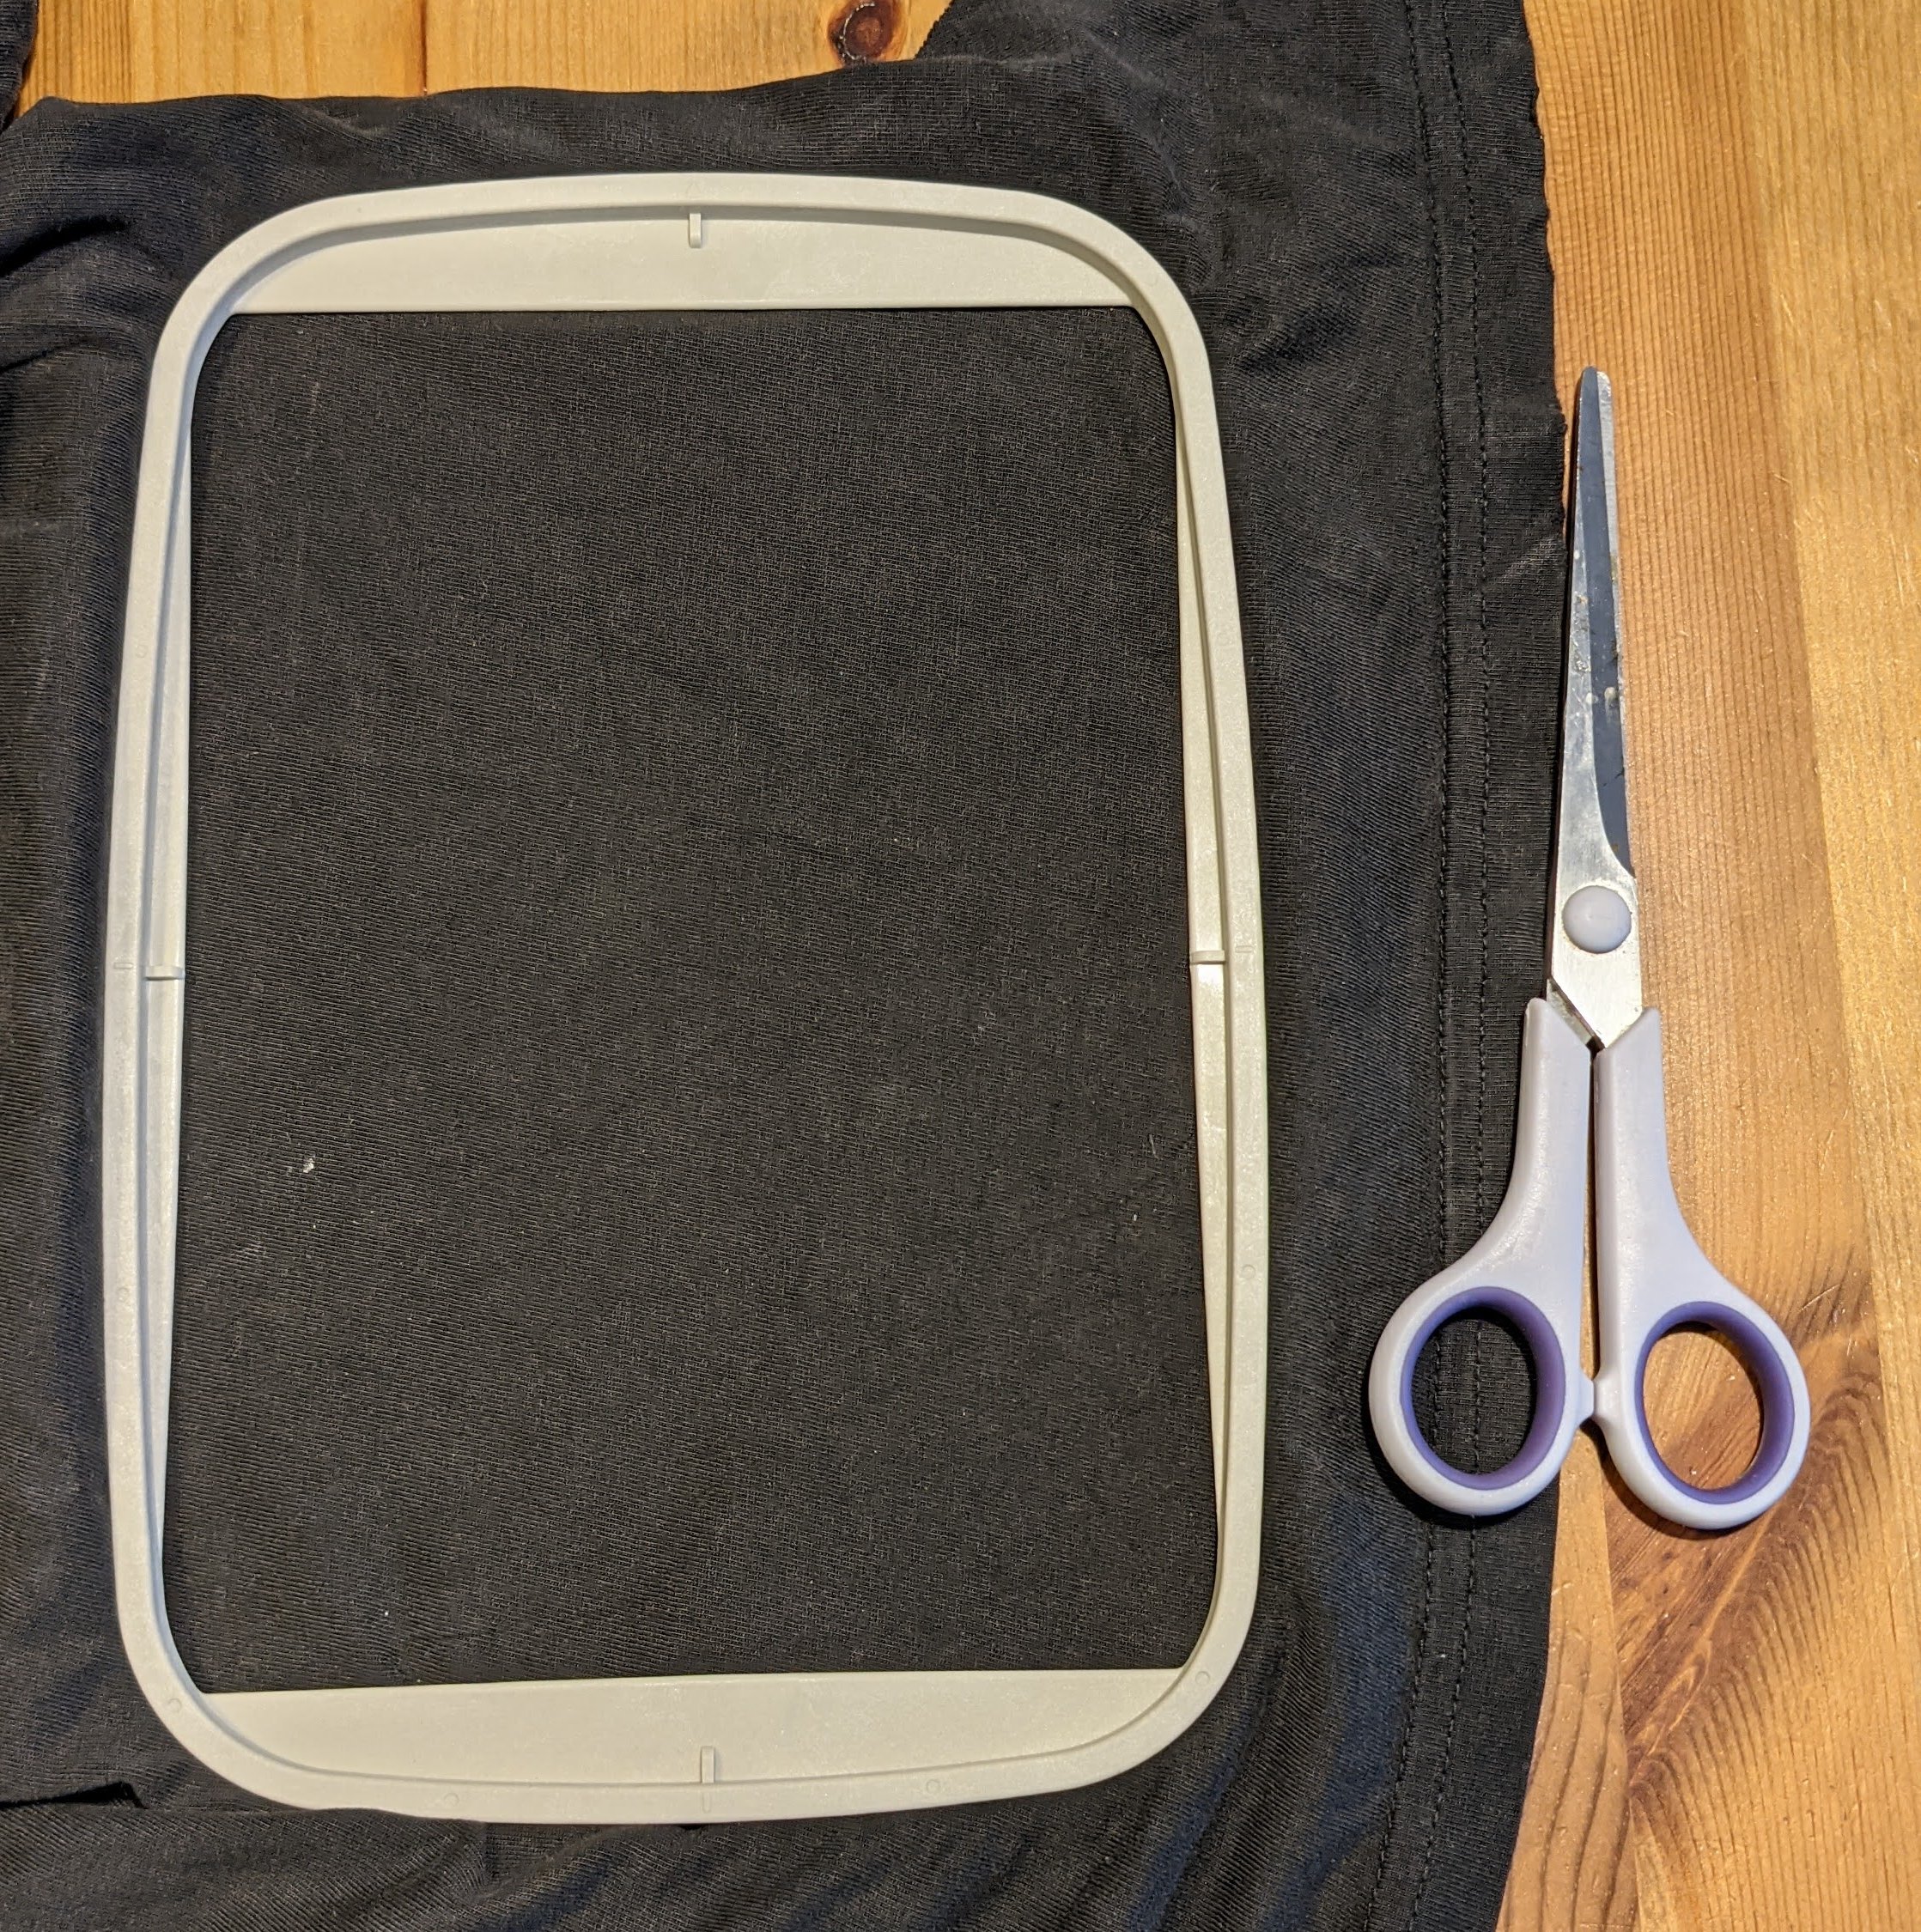
Frame preparation
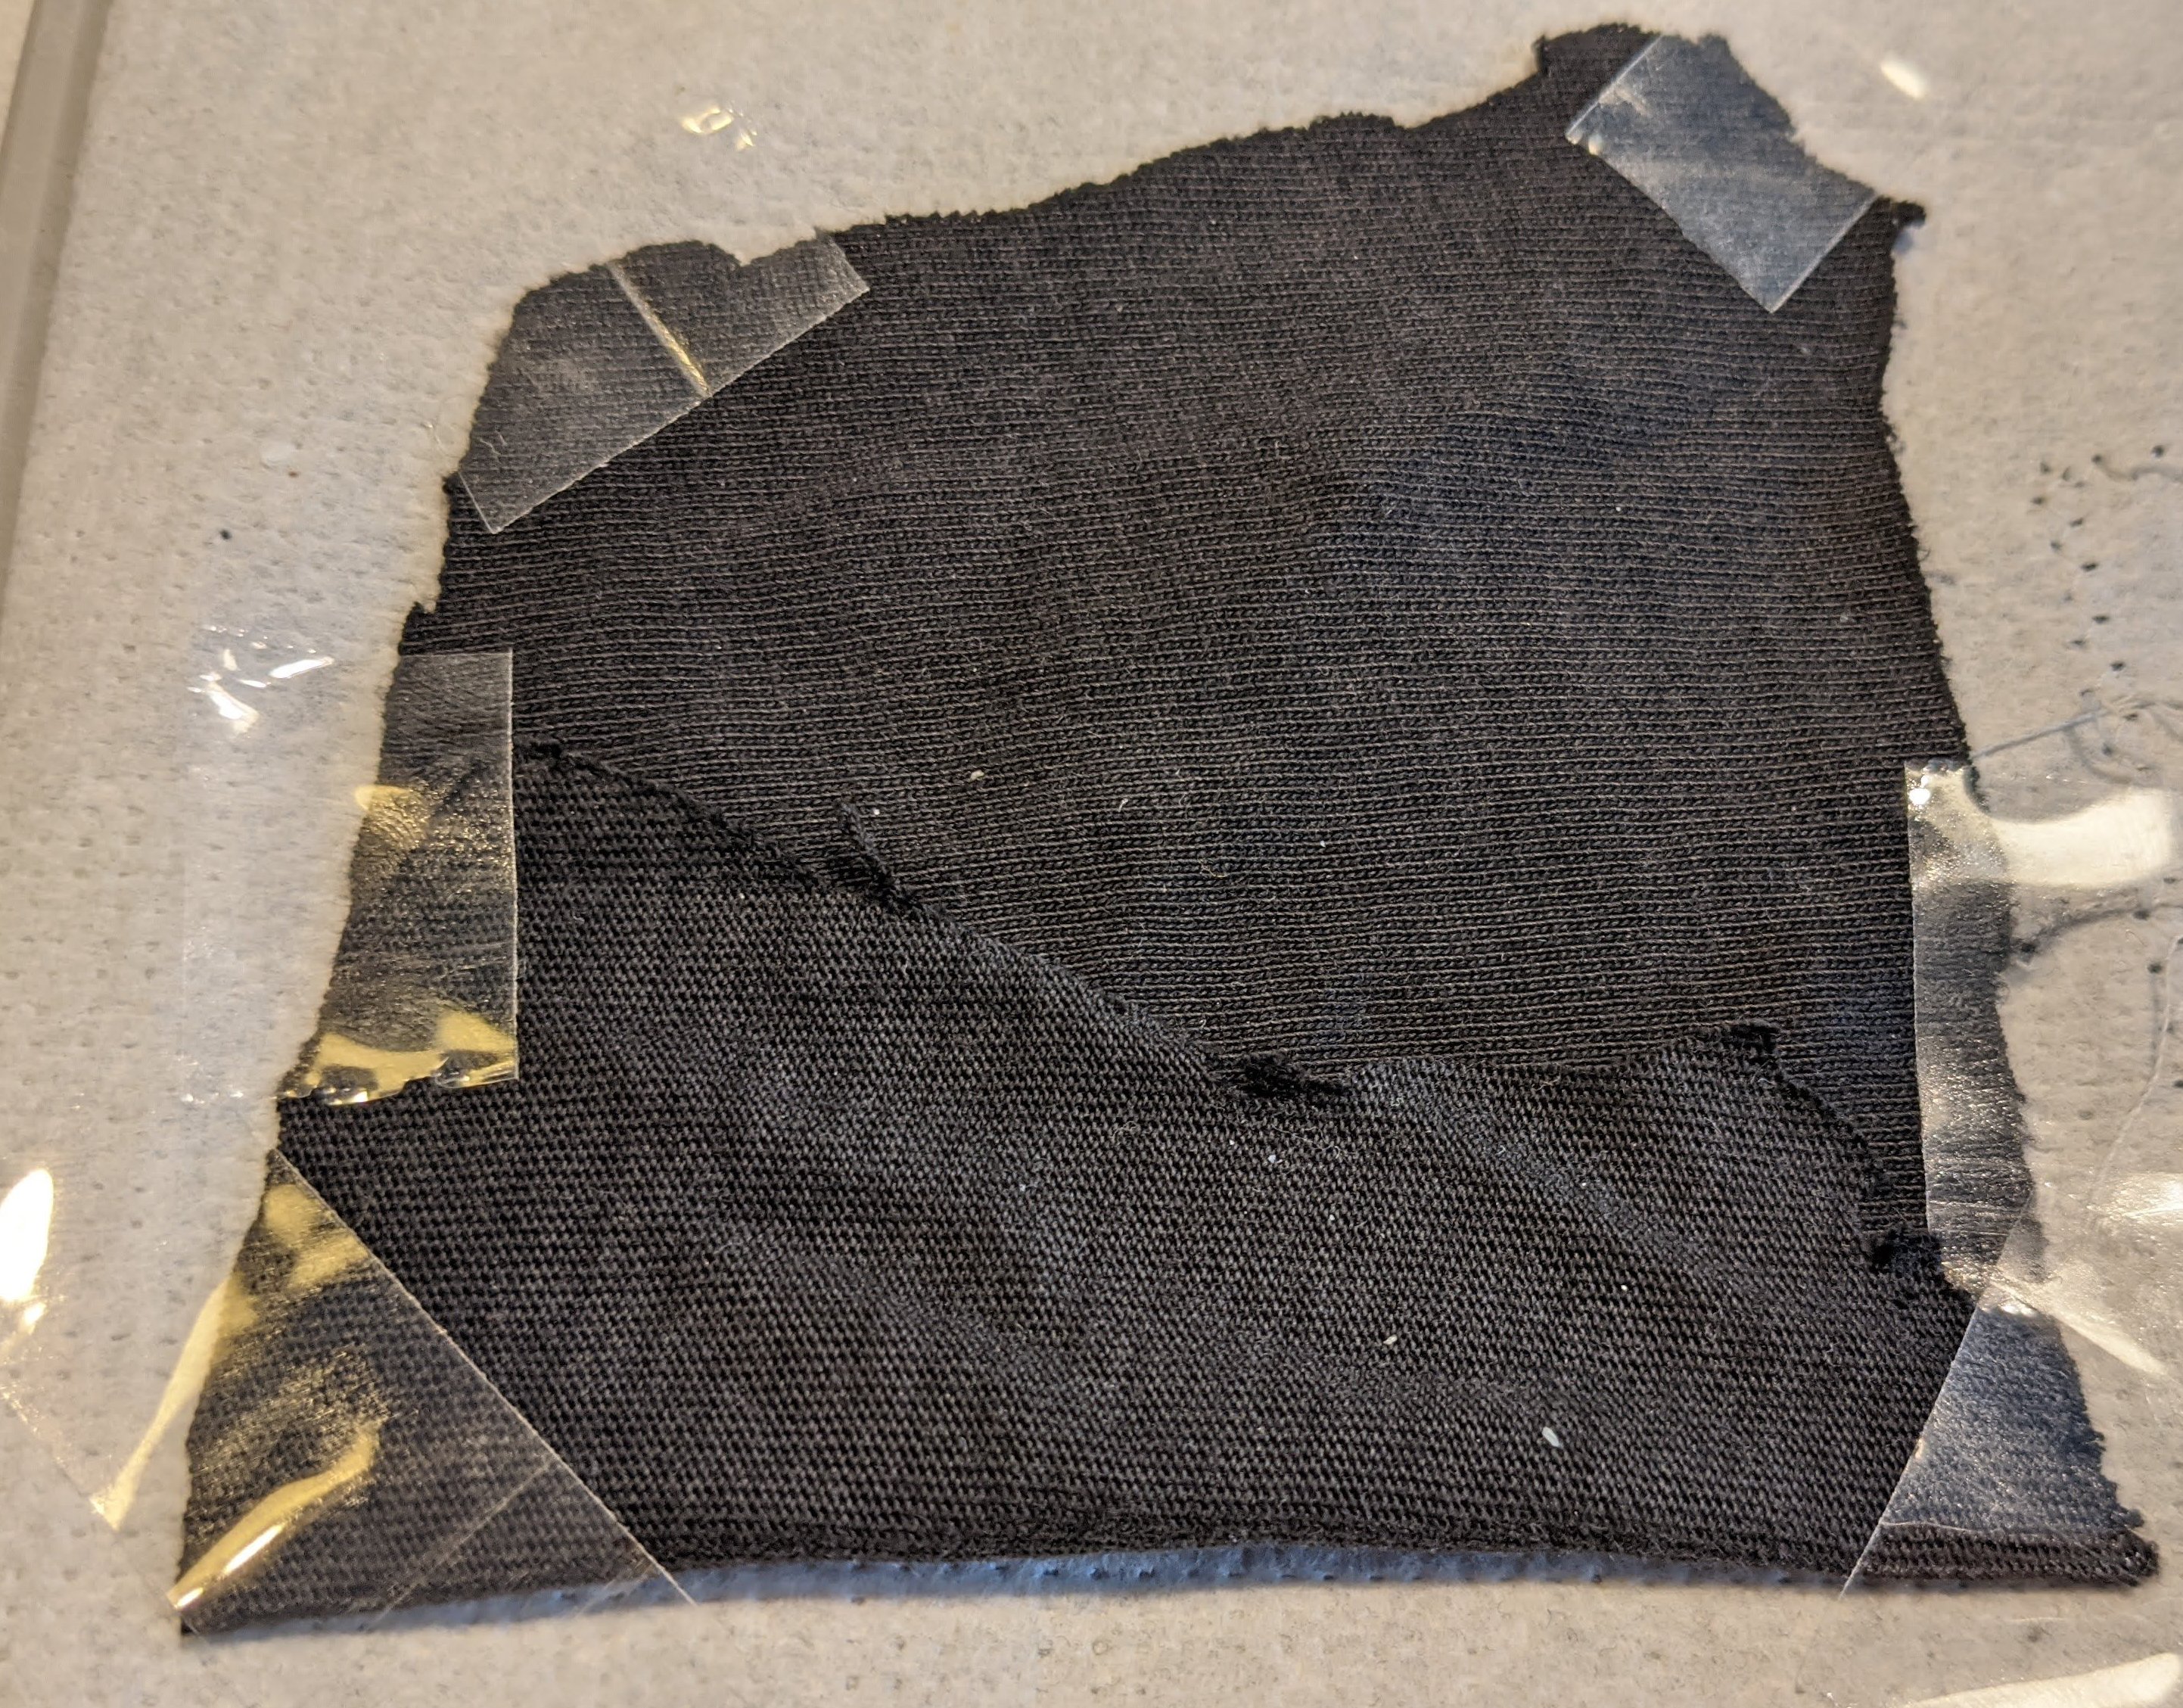
I forgot a cut/stop command in the original design, so in the first try (left), the machine immediately continued with the second layer and I had to start over.
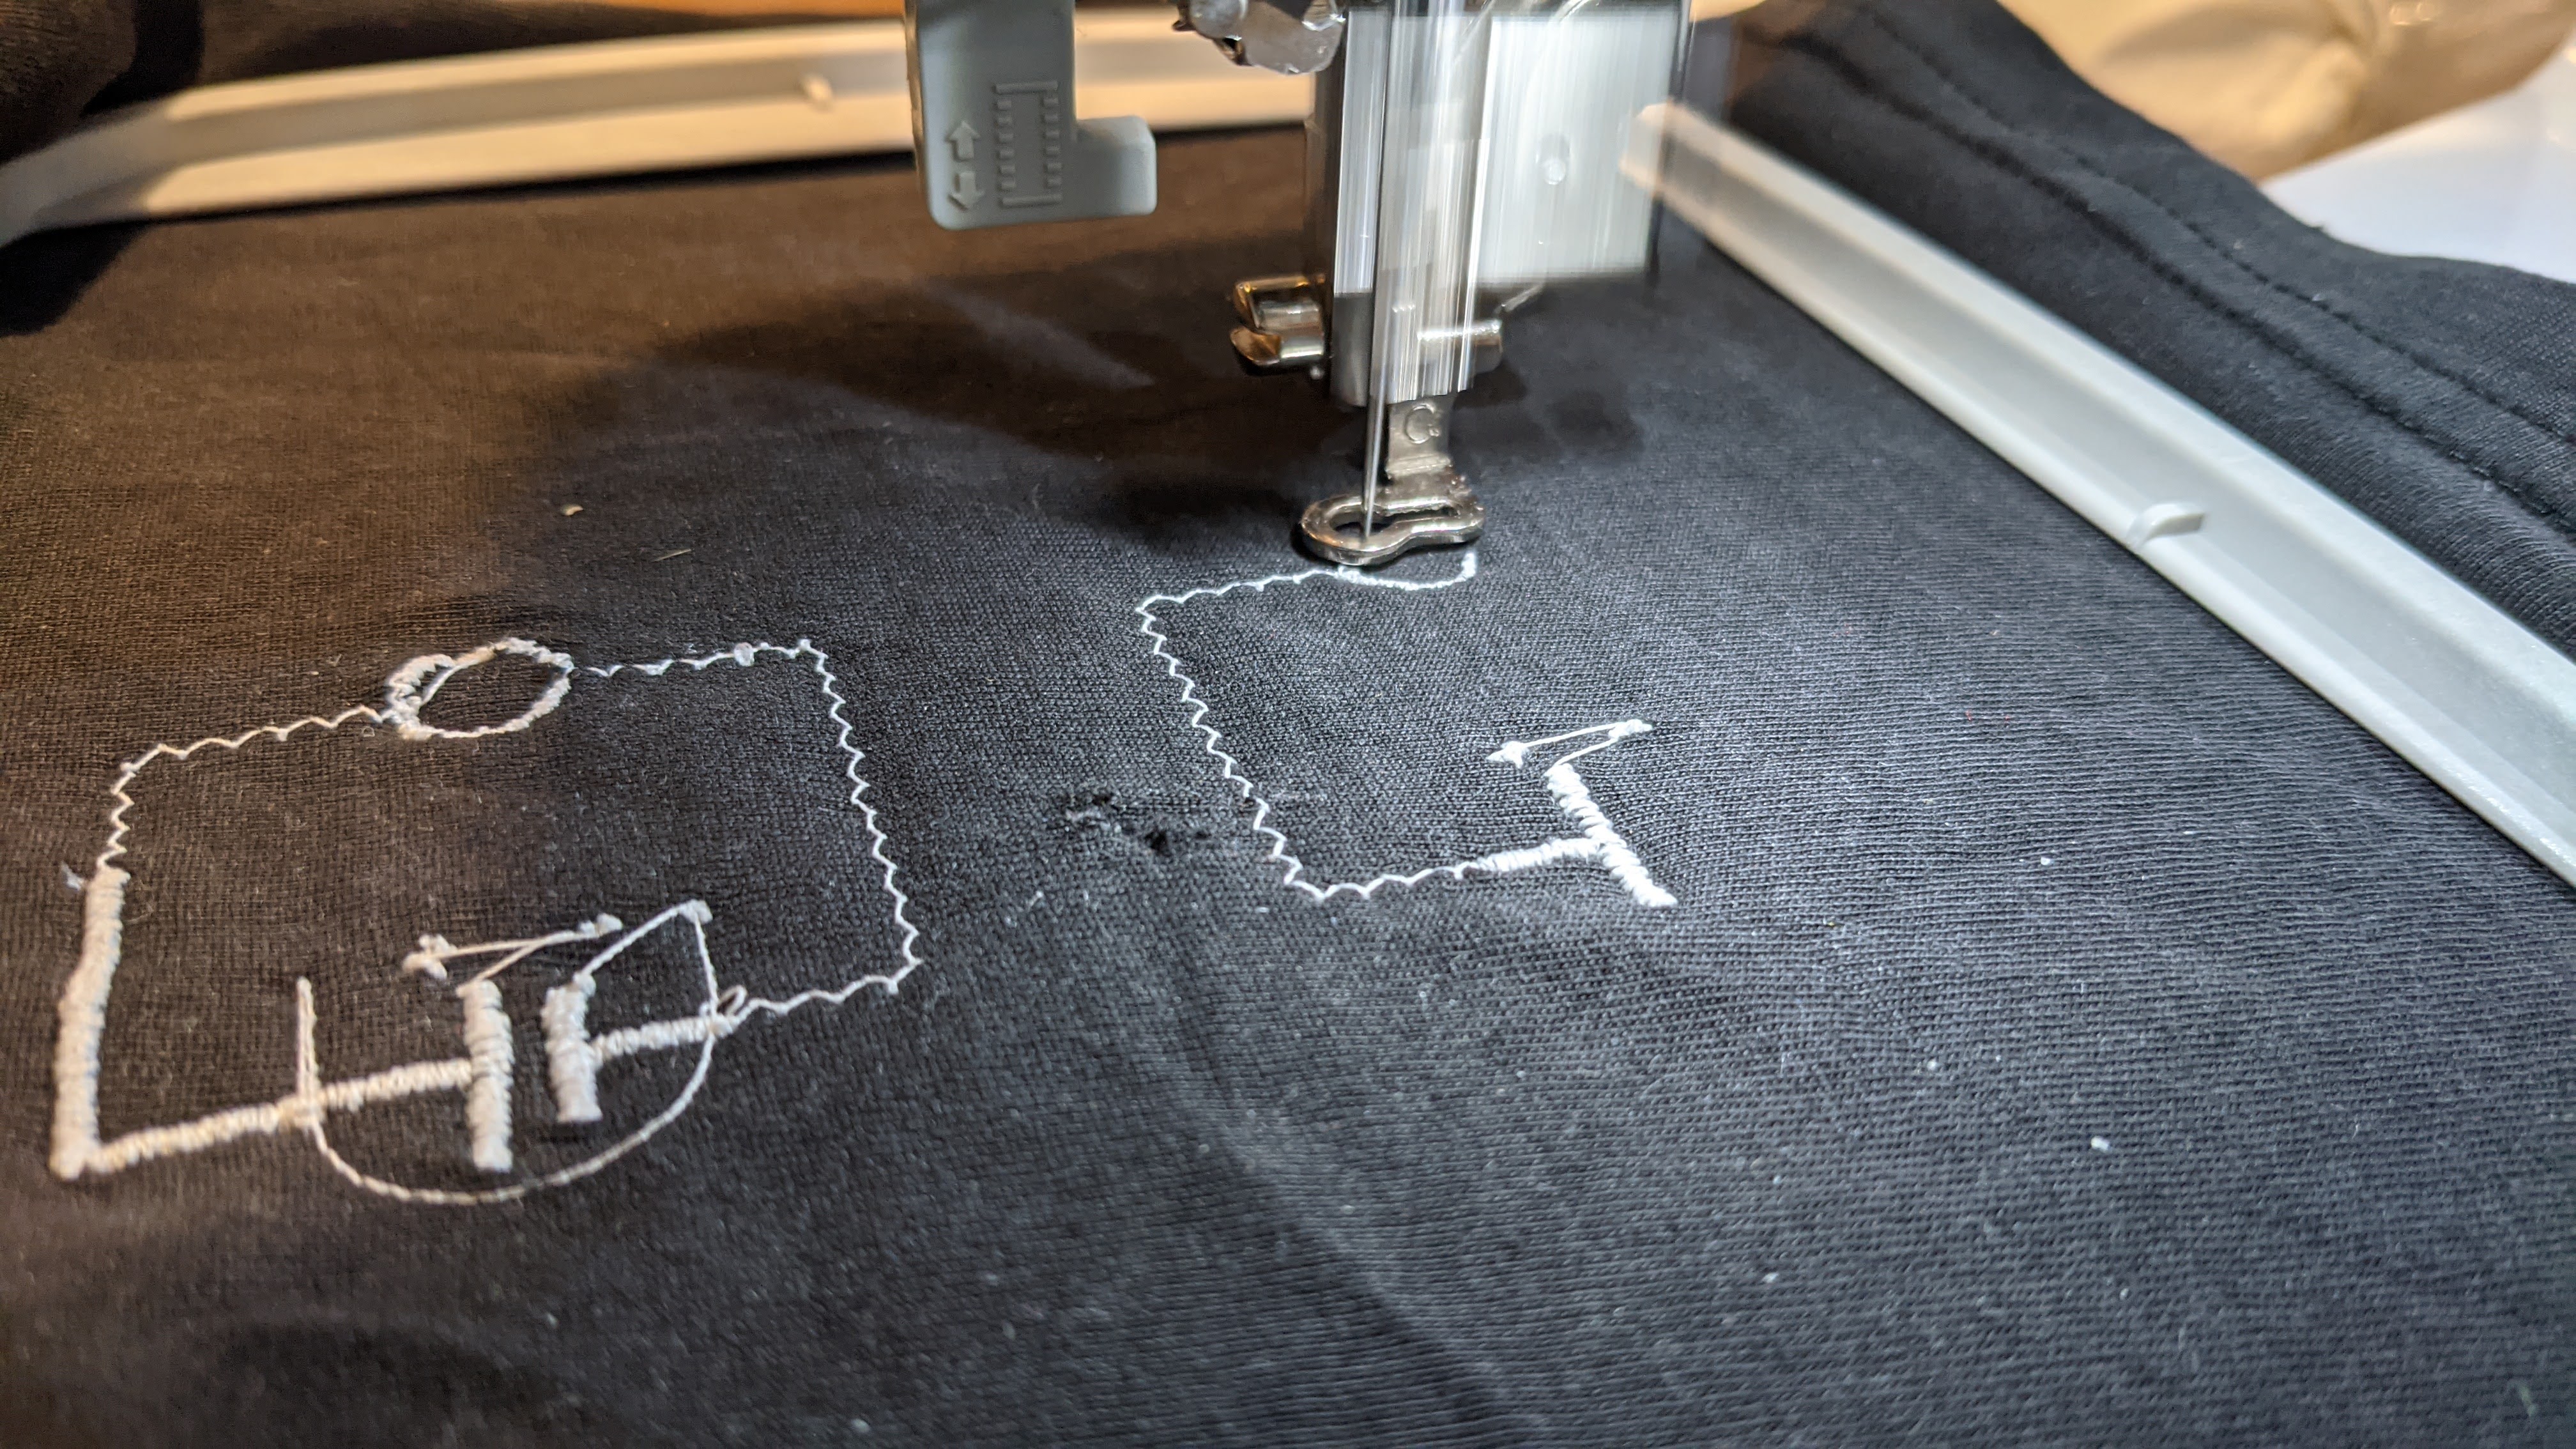
Stitching the first layer
Preparing the LED sequin
I had a suitable SMD LED ready at hand and looked for a 100 Ω resistor in old parts. I got lucky with an old obike PCB.
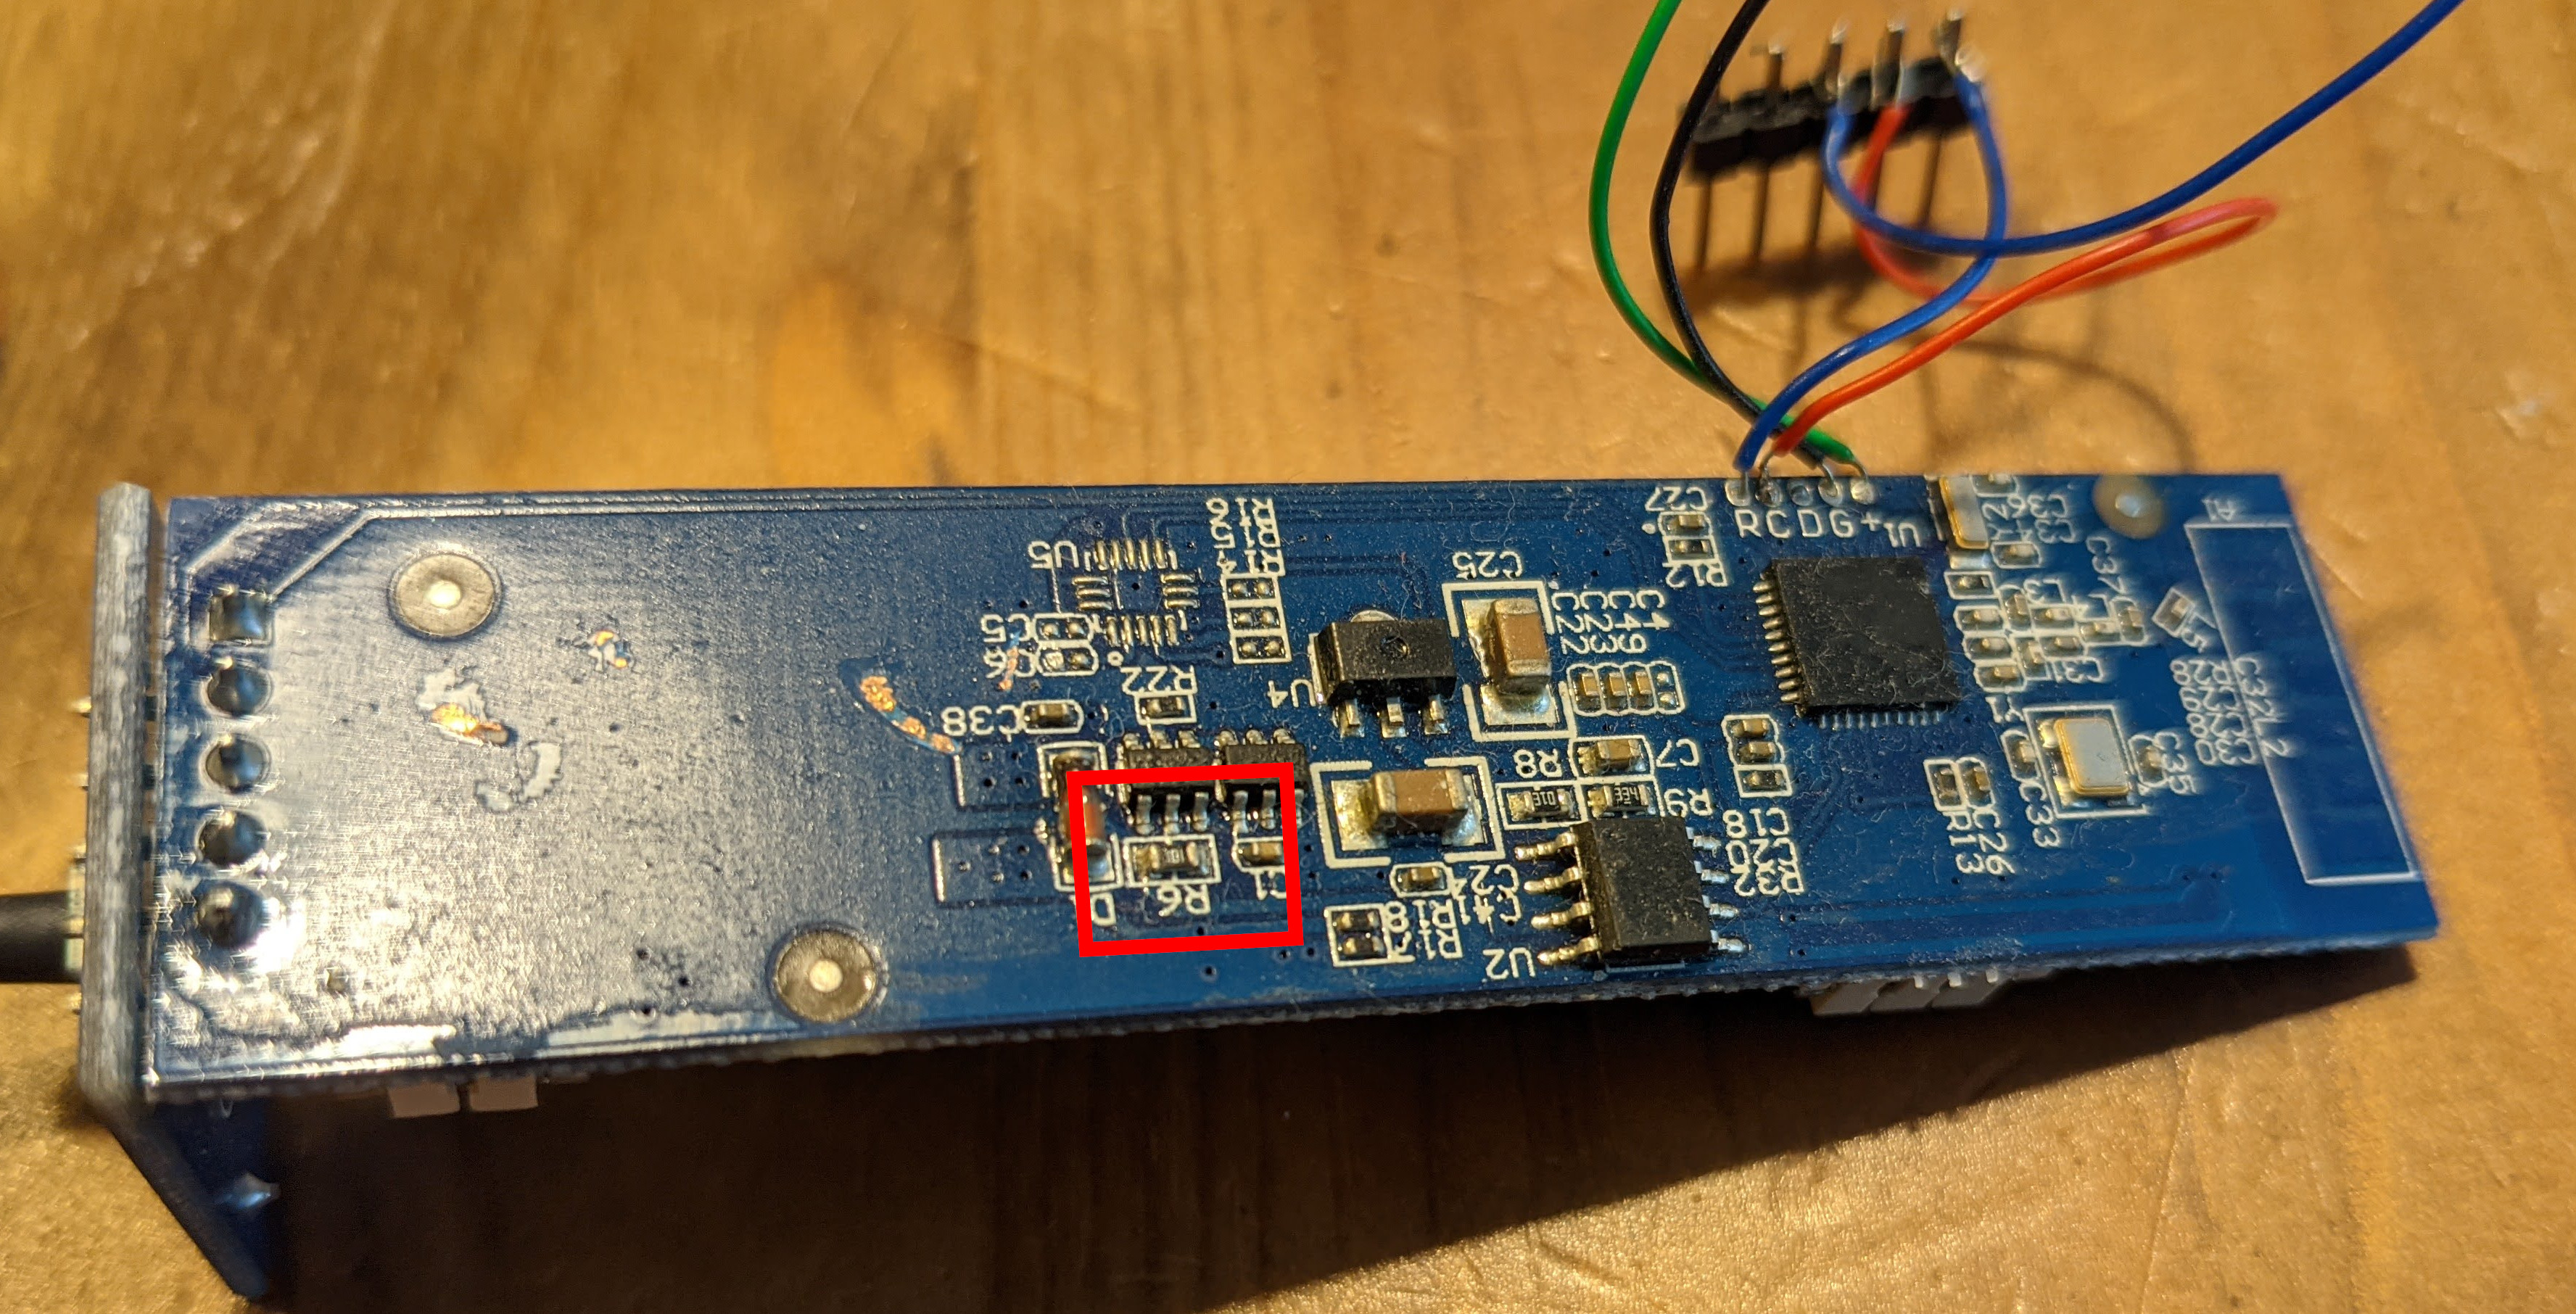
100 Ω resistor on the obike PCB
Next up: attaching the silver beads to LED & resistor to create the sequin.
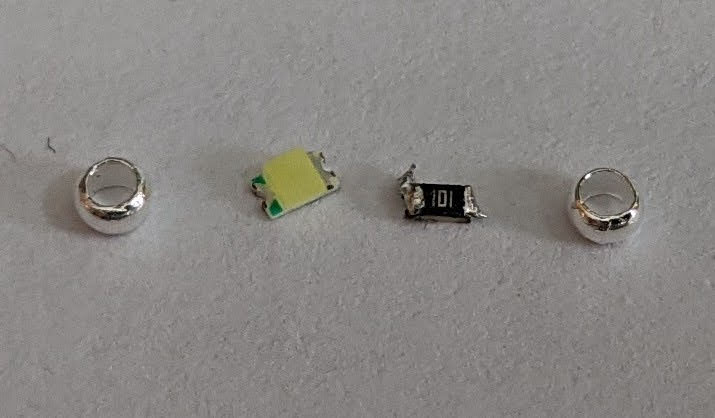
Silver beads, LED & resistor still seperate
This was a bit more complicated than I anticipated. Mostly, the LED has solder pads on its bottom side and thus isn’t made for soldering sideways. Plus the parts are tiny and it’s hard to keep them at any position. Wouldn’t have been able to do this without tweezers.
I pre-tinned the beads and then attached LED on one, resistor on the other, then combined them. The result isn’t pretty at all, but it’s functional.
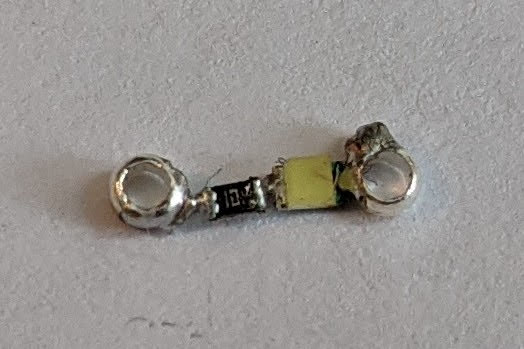
Finished LED sequin
Adding conductive thread
Next step was hand-stitching the conductive thread. I accidentally forgot that the back-side is mirror-inverted, but that doesn’t hurt the outcome. The guiding thread was a bit too tight and didn’t have sufficient distance for me to comfortably stitch the conductive thread through it. I also miscalculated slightly and ended up having a little bit too much pull on the thread.
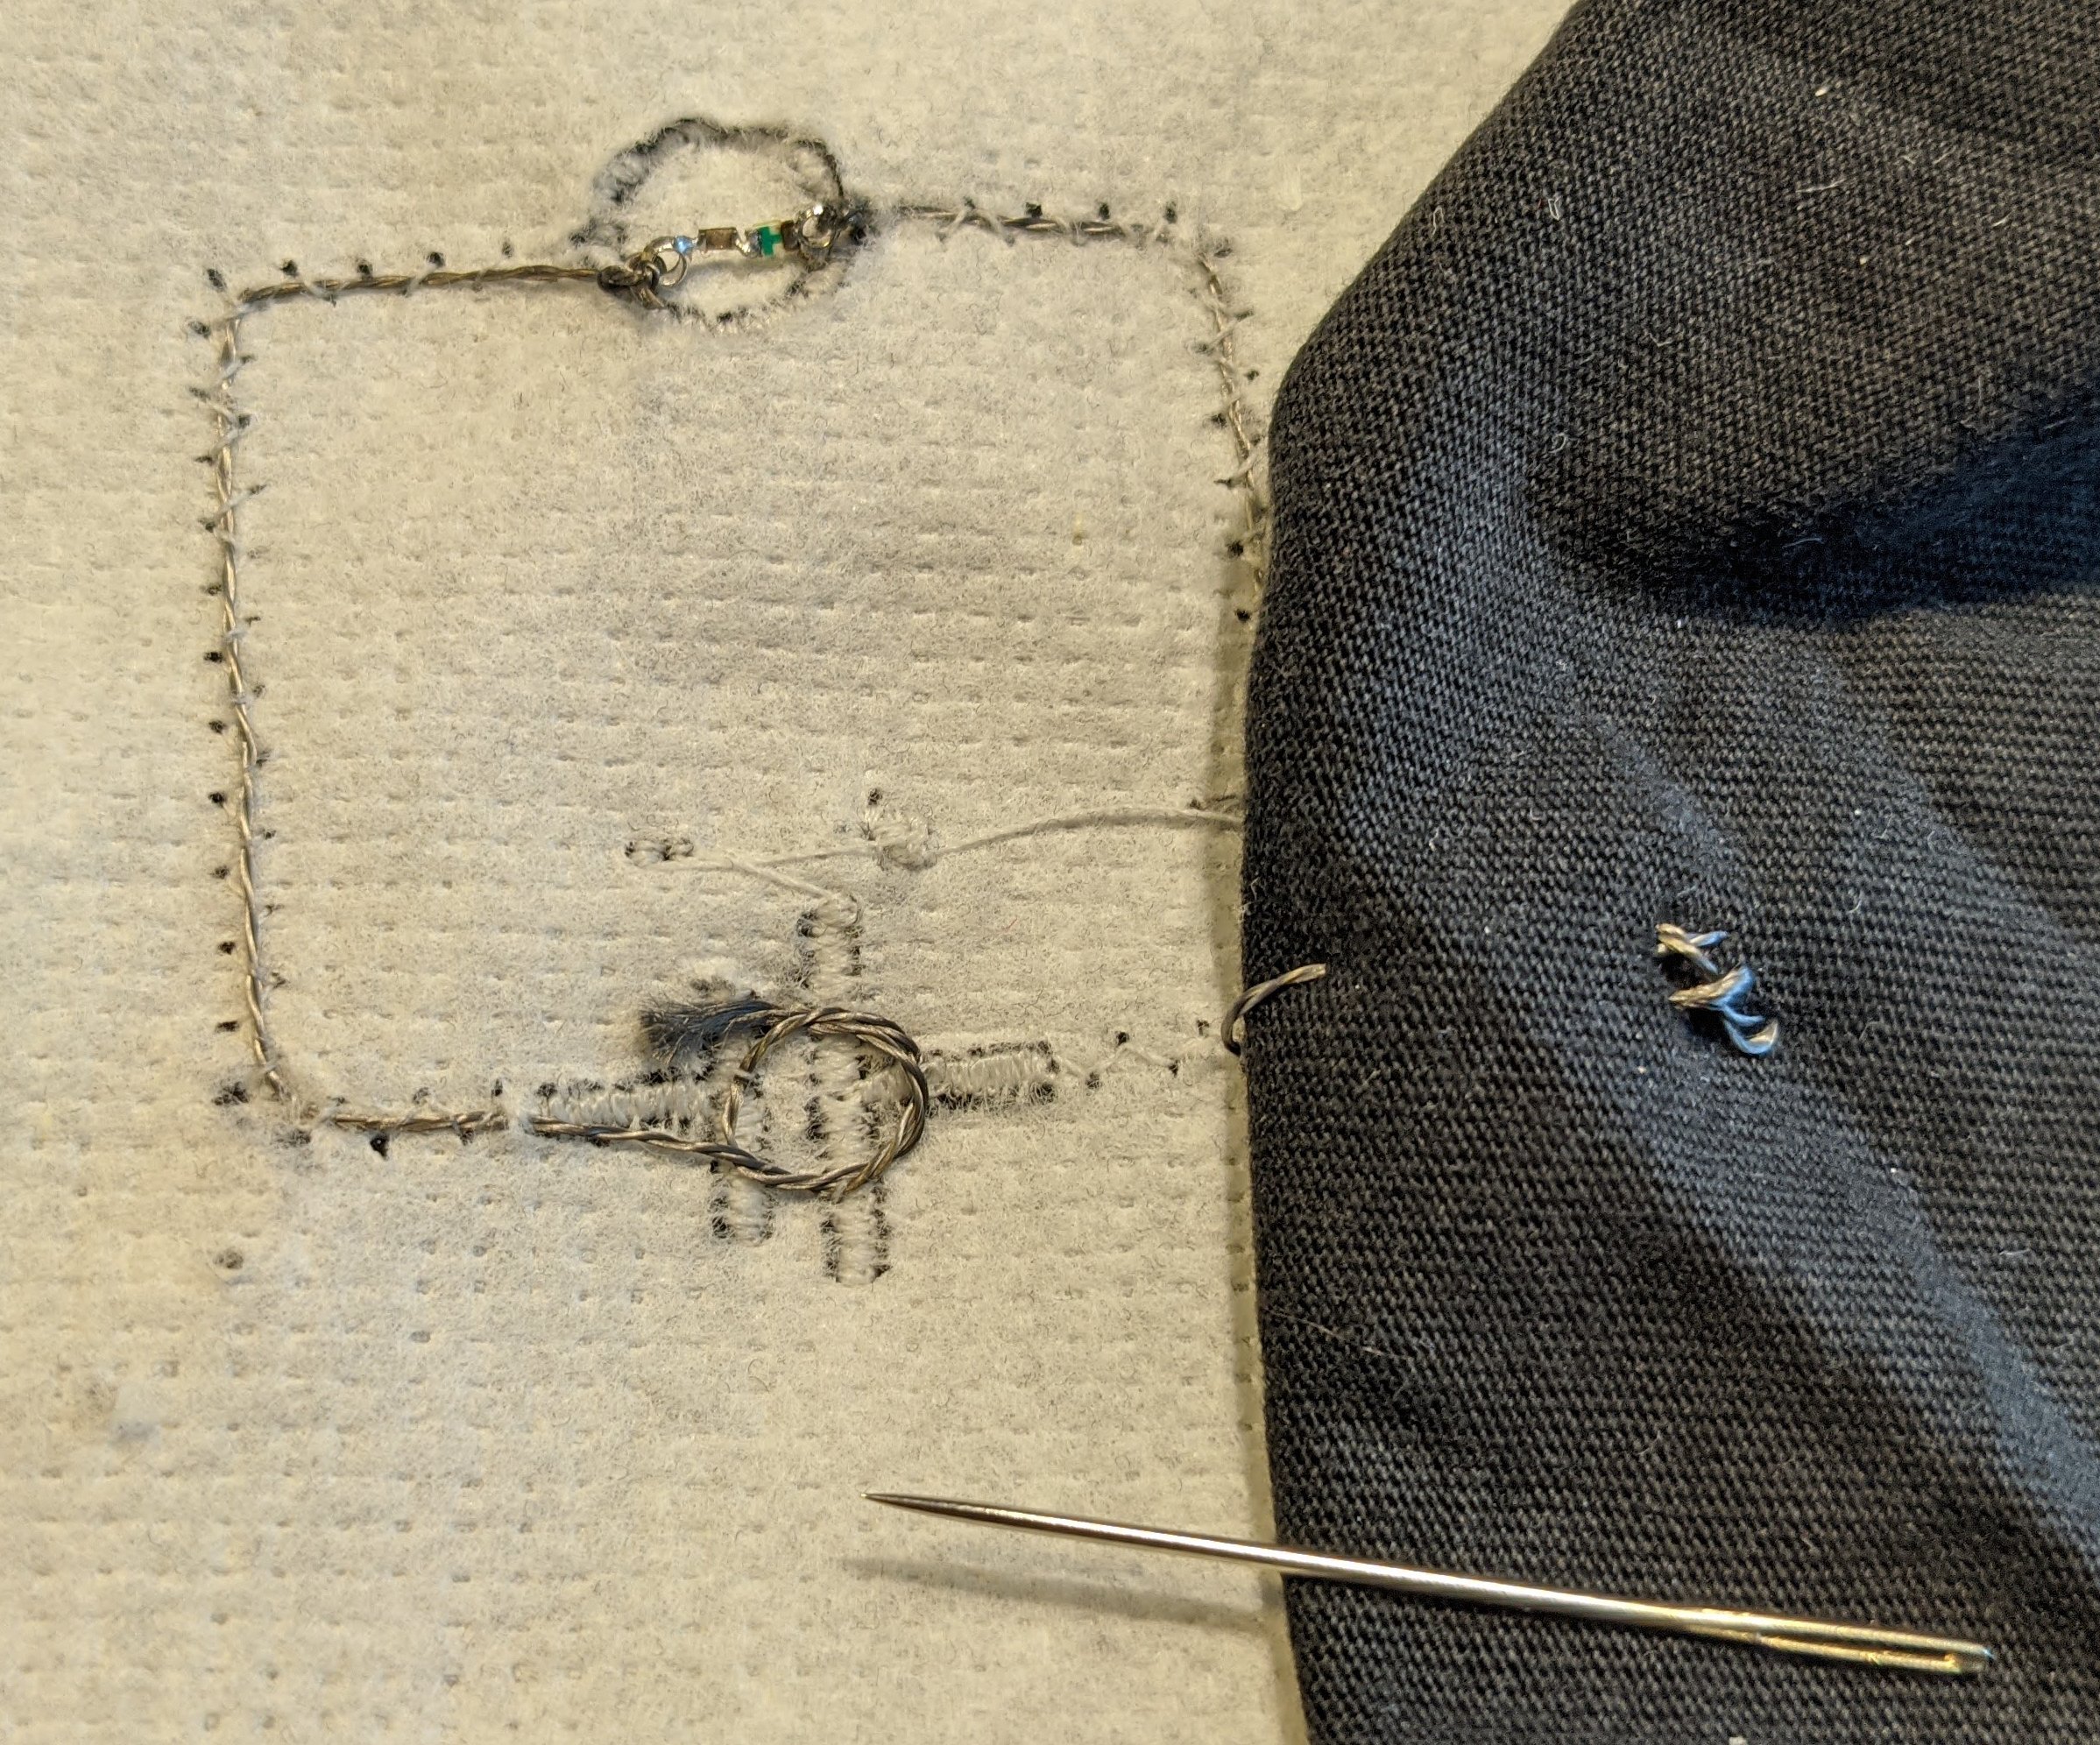
Conductive thread added
On the right you see the fabric for the back cover of the battery holder. Conductive thread has already been added along with a contact point.
Here’s also a closeup on the sequin attached to the thread. I added a double-knot, fixed it with clear nail polish and then cut off the excess. I carefully rotated the thread so that the LED would point downward.
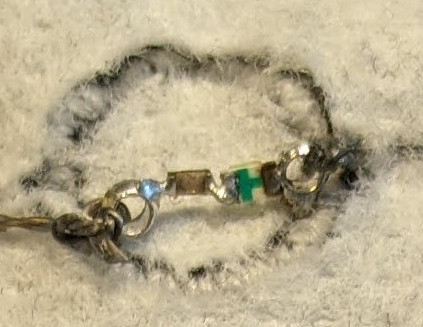
Finished LED sequin
I also was a bit uneasy with the size of the sequin, I would have liked more protective margin wrt to the 2nd layer stitch plan, to be absolutely certain that the needle won’t collide with the sequin. So the next iteration would have a bigger lamp symbol ;-)
A brief functional test:
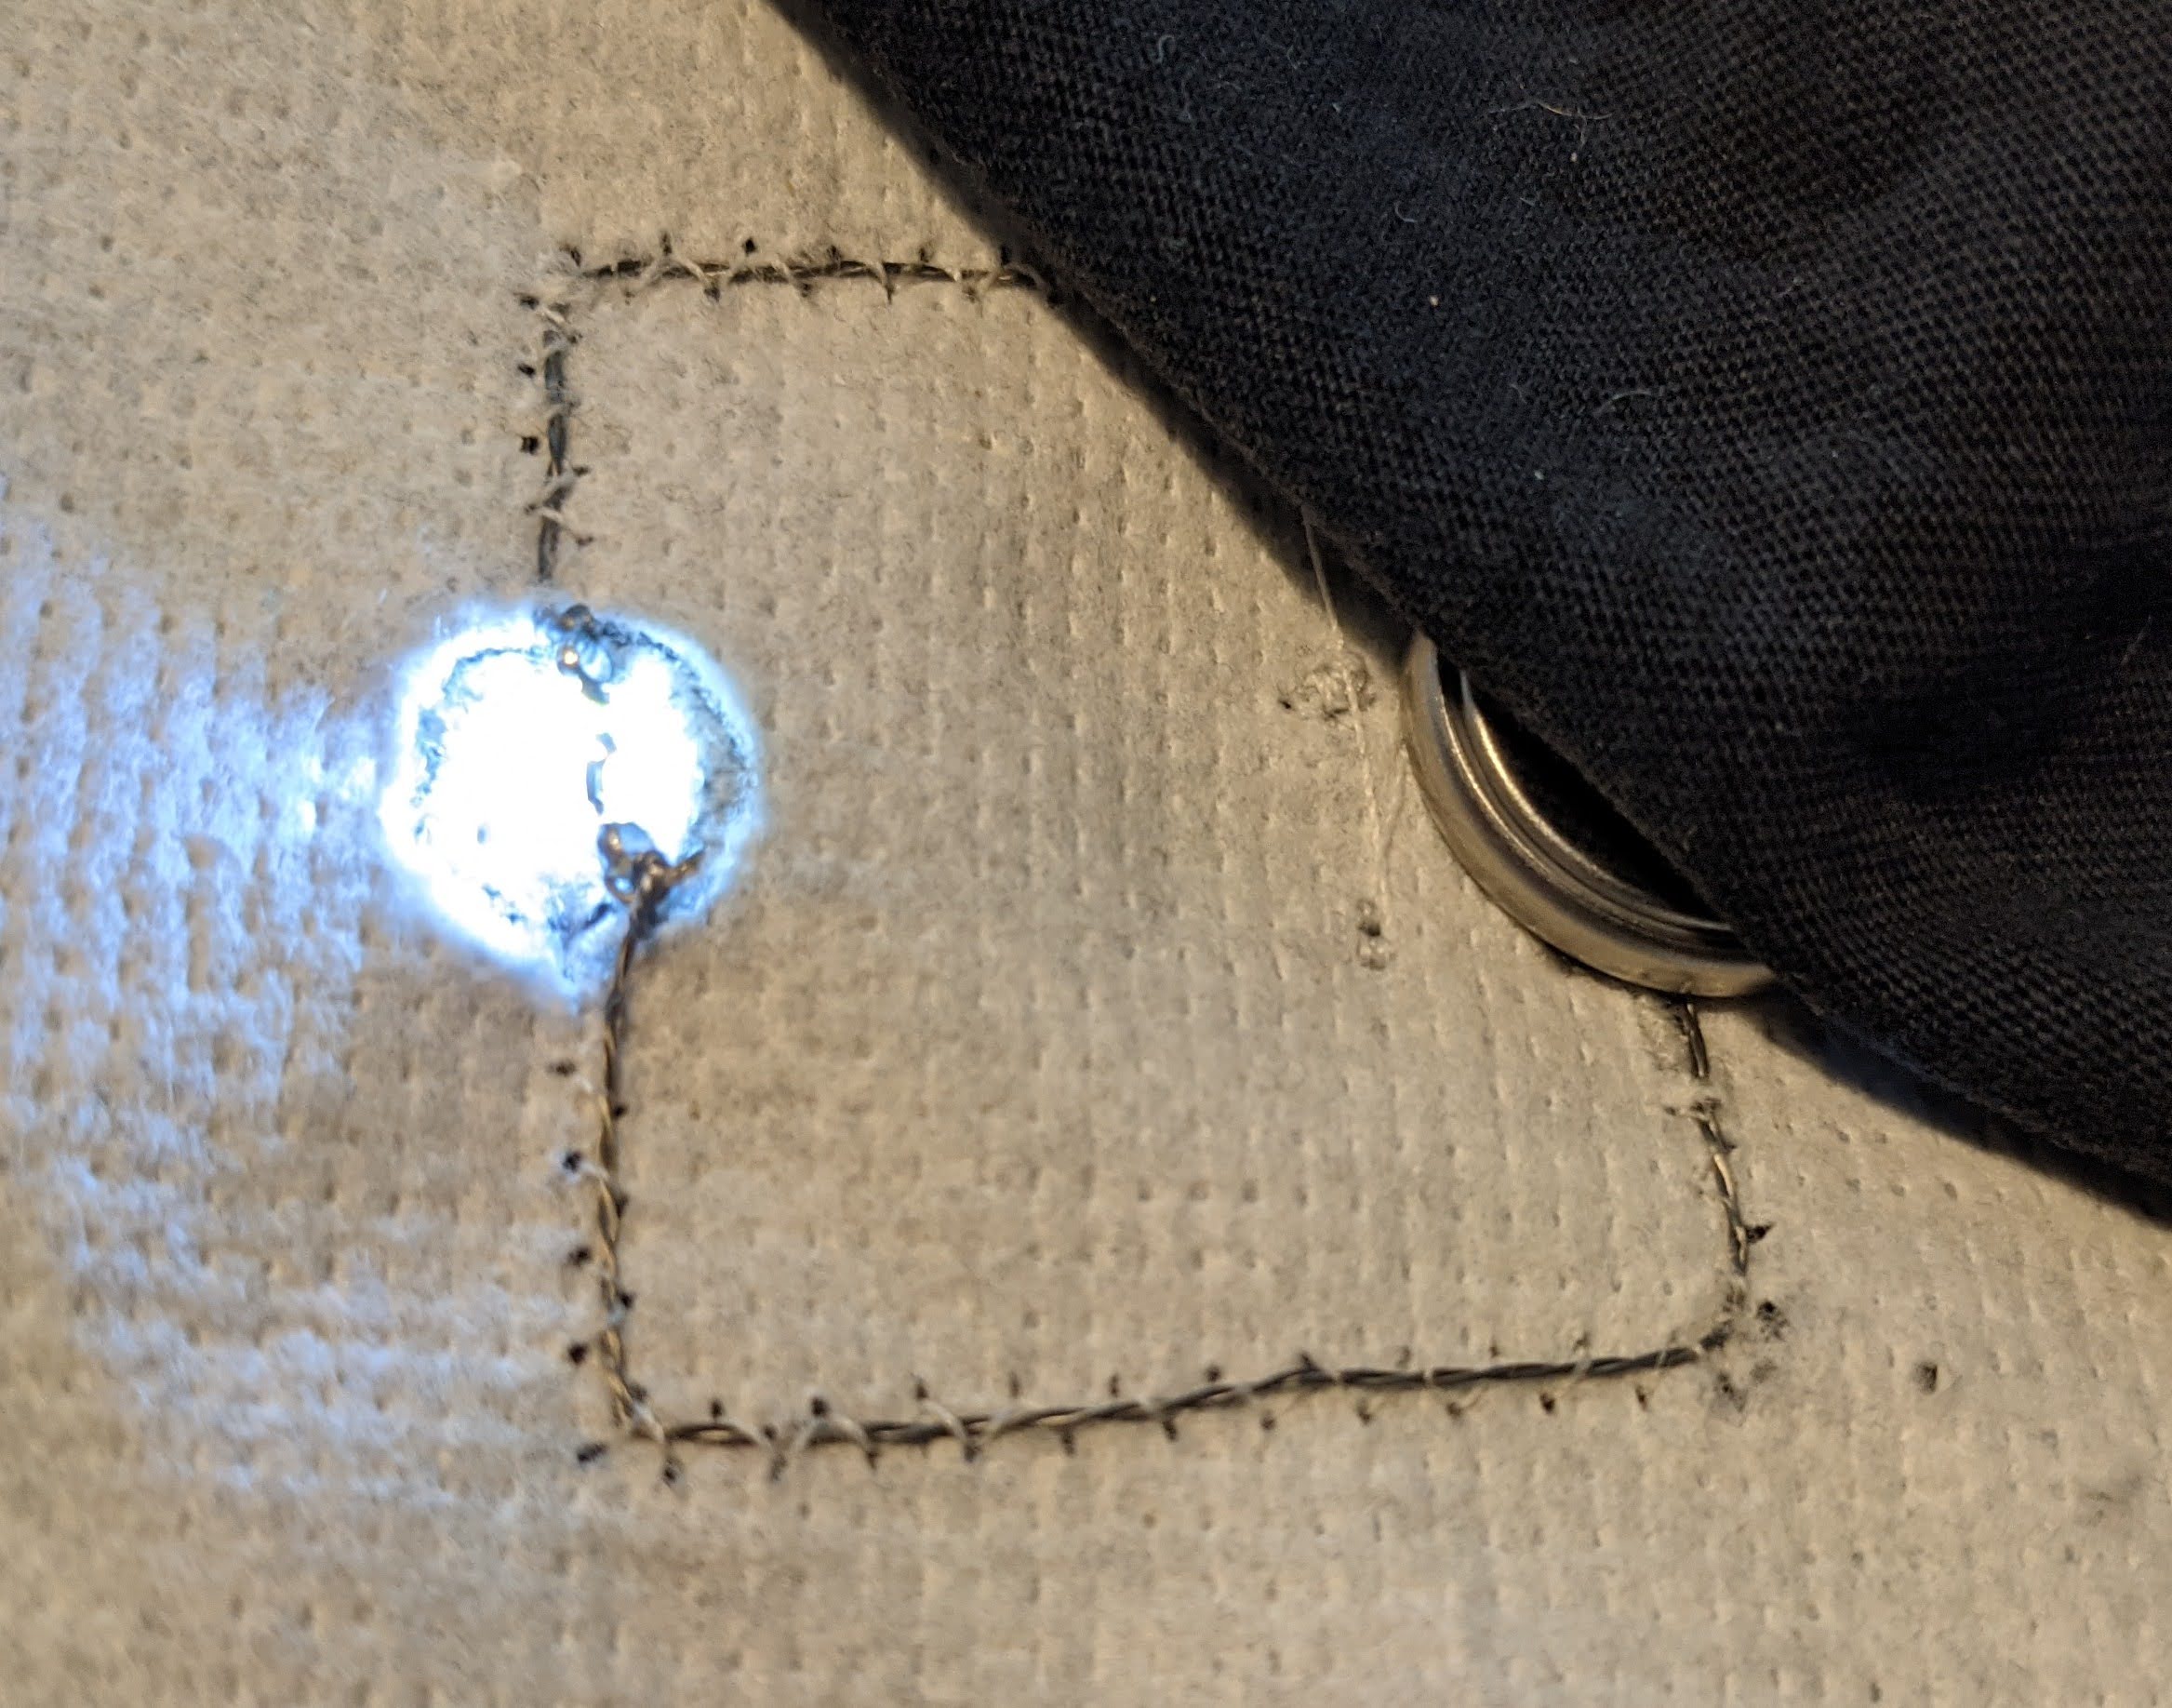
Functional test result: PASS
Adding the back cover
Back cover added
Since there’s still a bit of conductive thread on the back, I added a third fabric layer to cover that too by folding the back-fabric once.
In retrospect using clear tape for fixing the fabric wasn’t a smart idea.
third layer back cover added
Second Layer
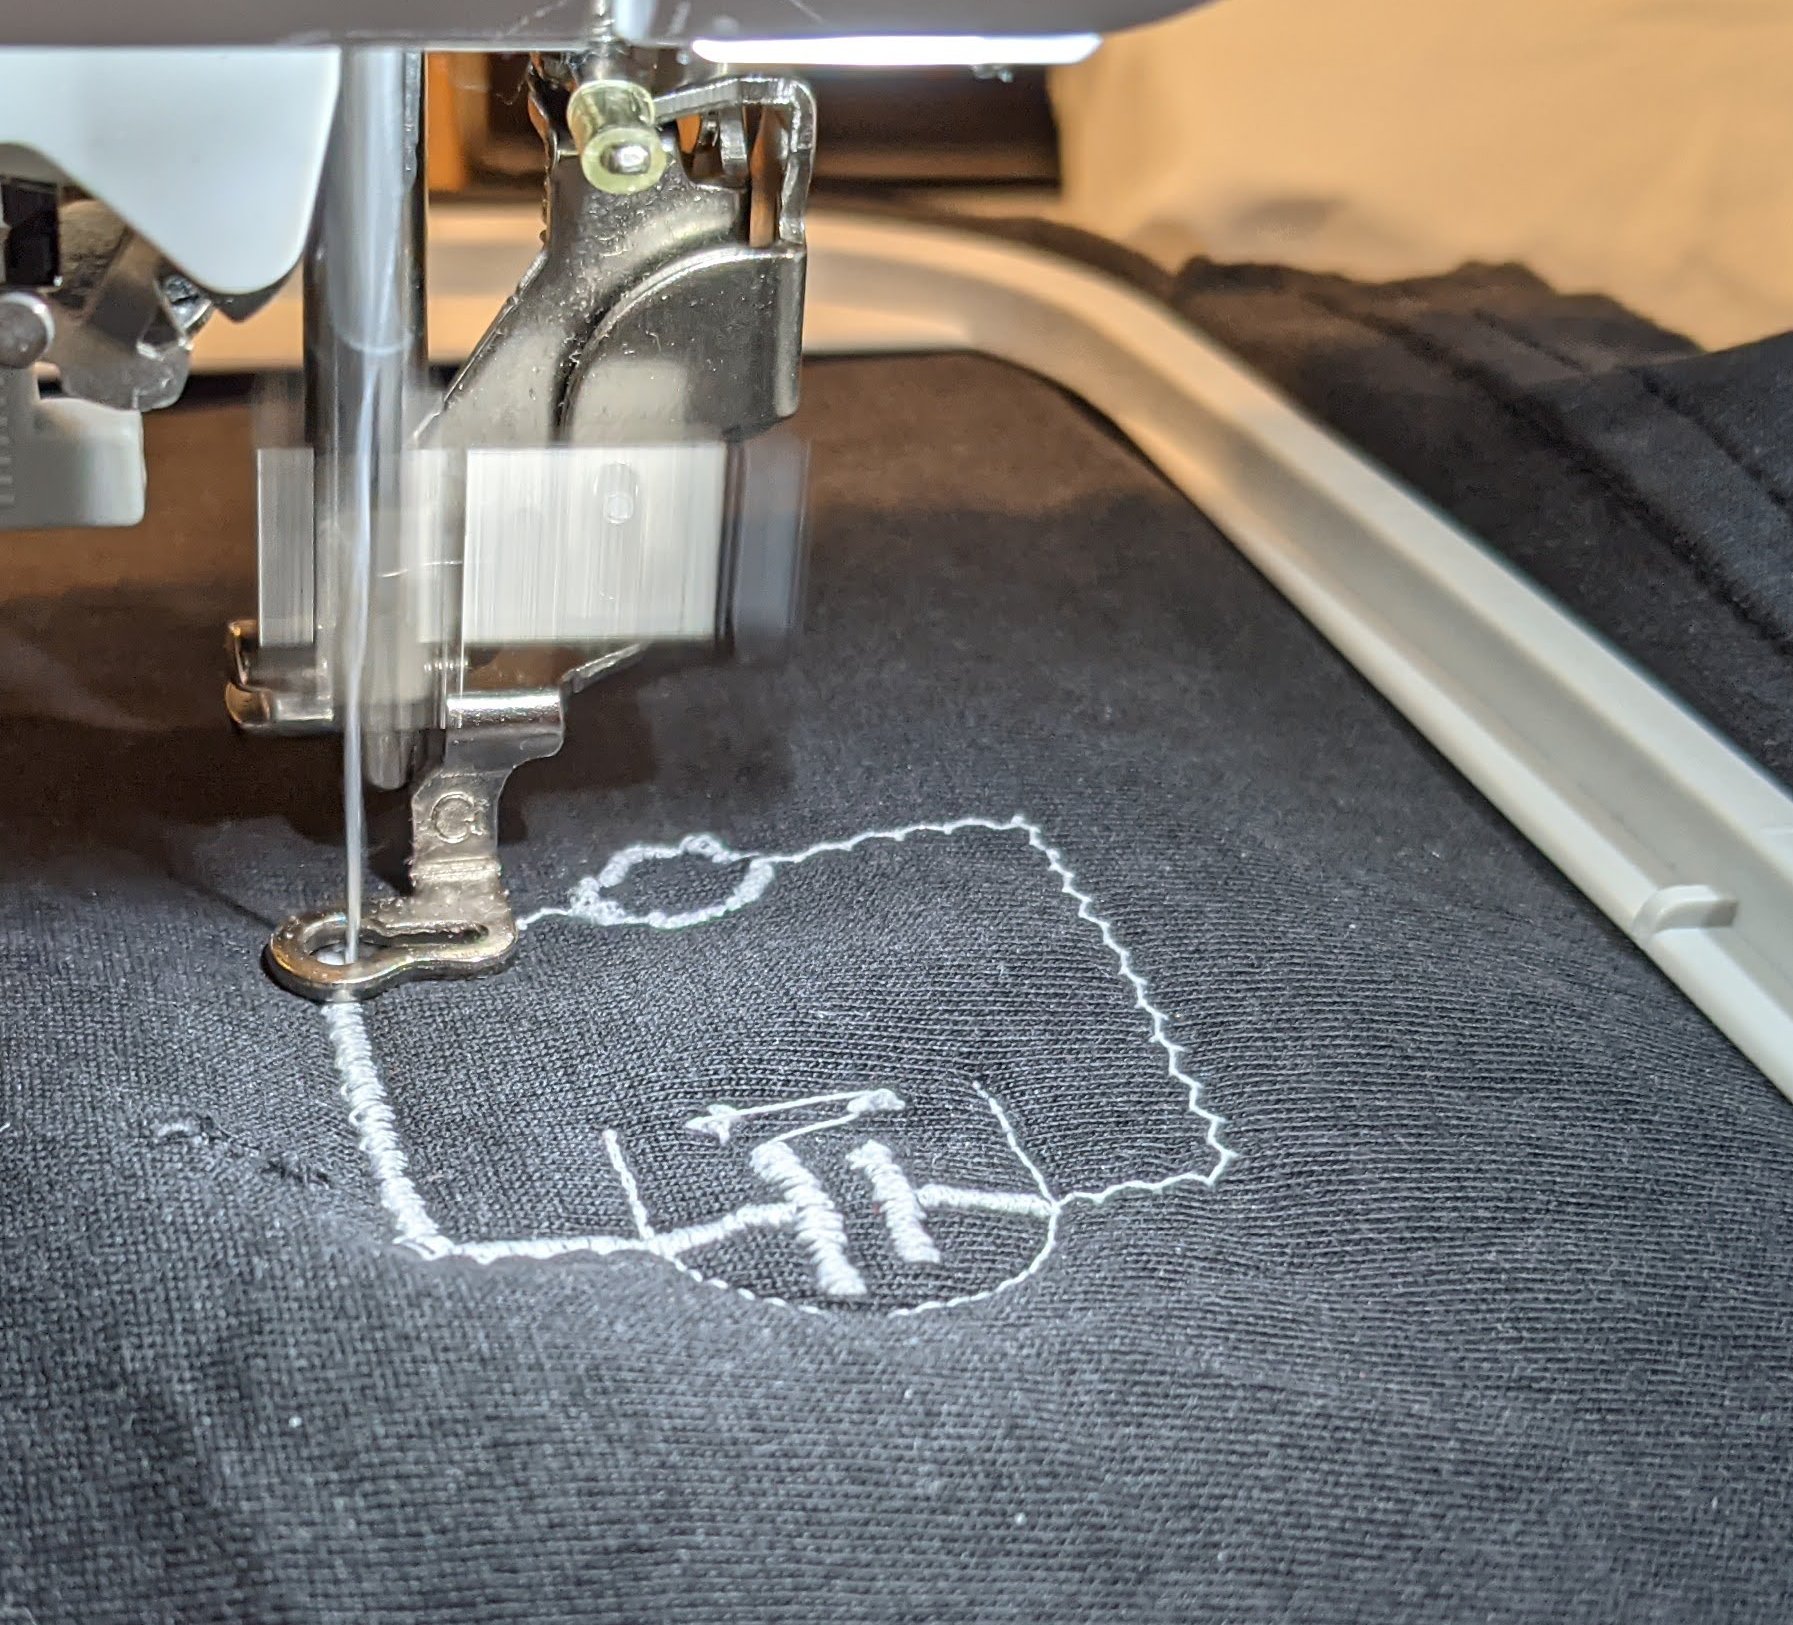
Stitching the 2nd layer
I can already see that there’s too much pull and that the satin column isn’t perfectly aligned on the guiding thread from the first layer. For a next iteration I’ll have to compensate a bit for pull in the design and make sure to give the conductive thread a bit more wiggling room.
End results
The final result is quite a mess – at least on the back. Using the clear tape was a bad idea. Next time I’ll be using pins, “stylefix” or fix the back cover fabric with a manual running stitch beforehand.
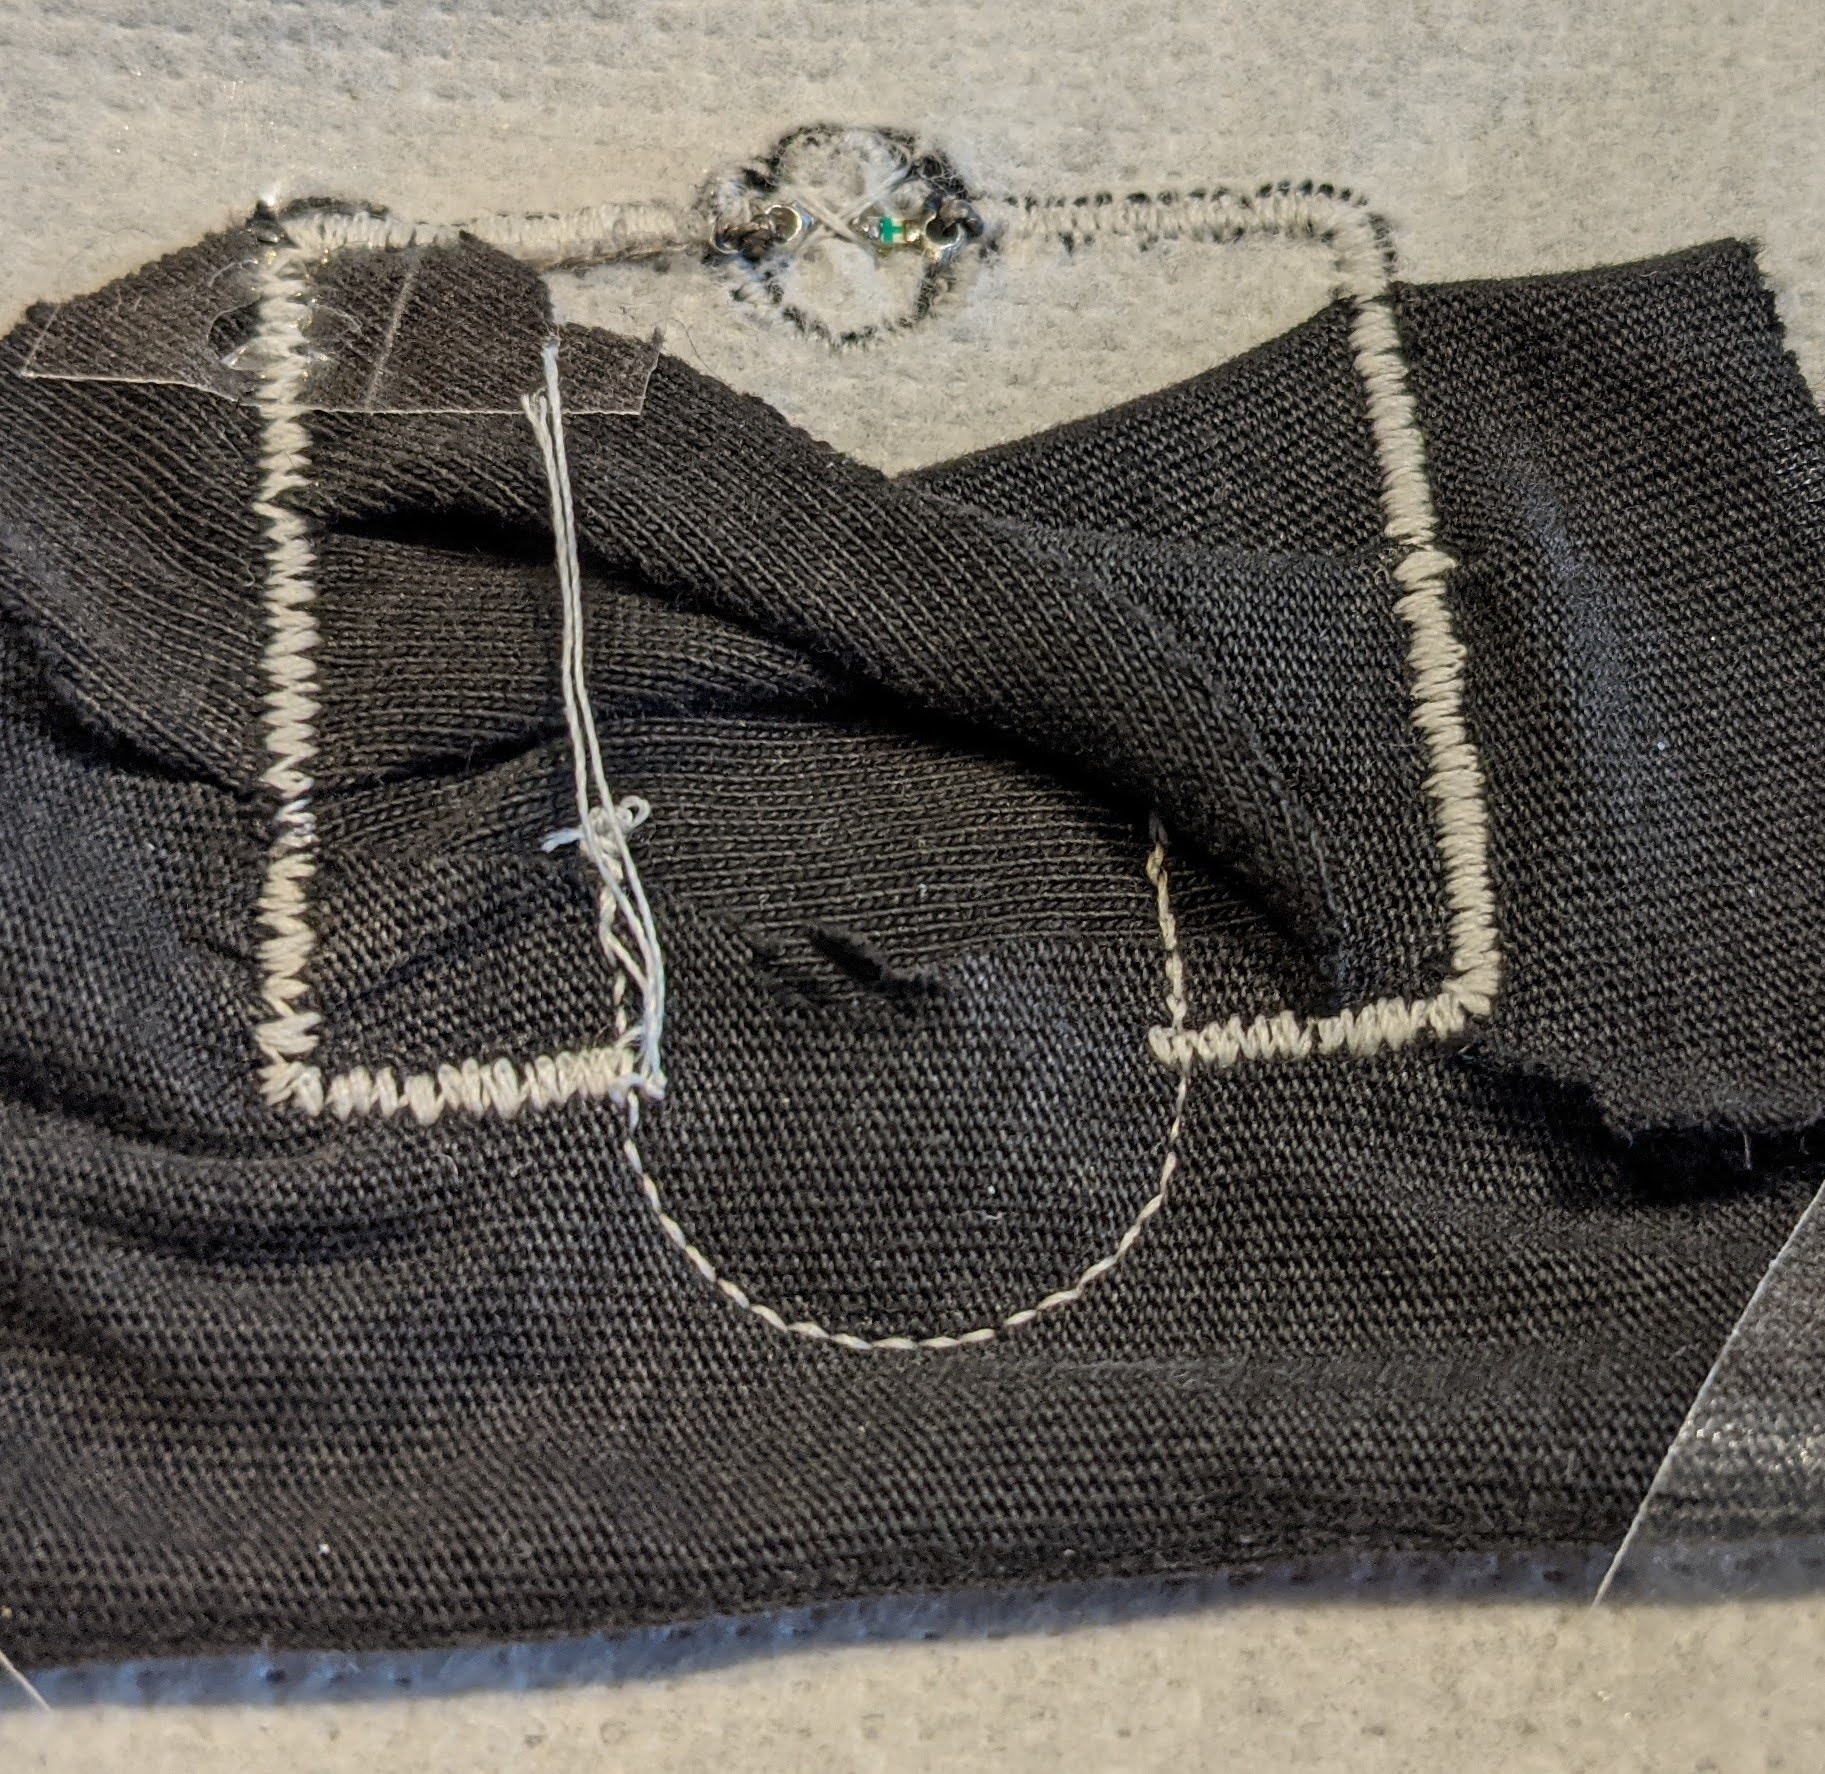
End result, backside
However, not everything is bad:
- The satin column really nicely covers the conductive thread. It actually became invisible at those places.
- The “X” from the lamp symbol does a really good job at fixing the LED sequin in place. I was actually worried that the orientation of the LED wouldn’t hold and the LED would shin backwards, but that turned out not to be a problem.
- The battery cover is functional and fits the battery well (holding it tight while not pulling the fabric too much).
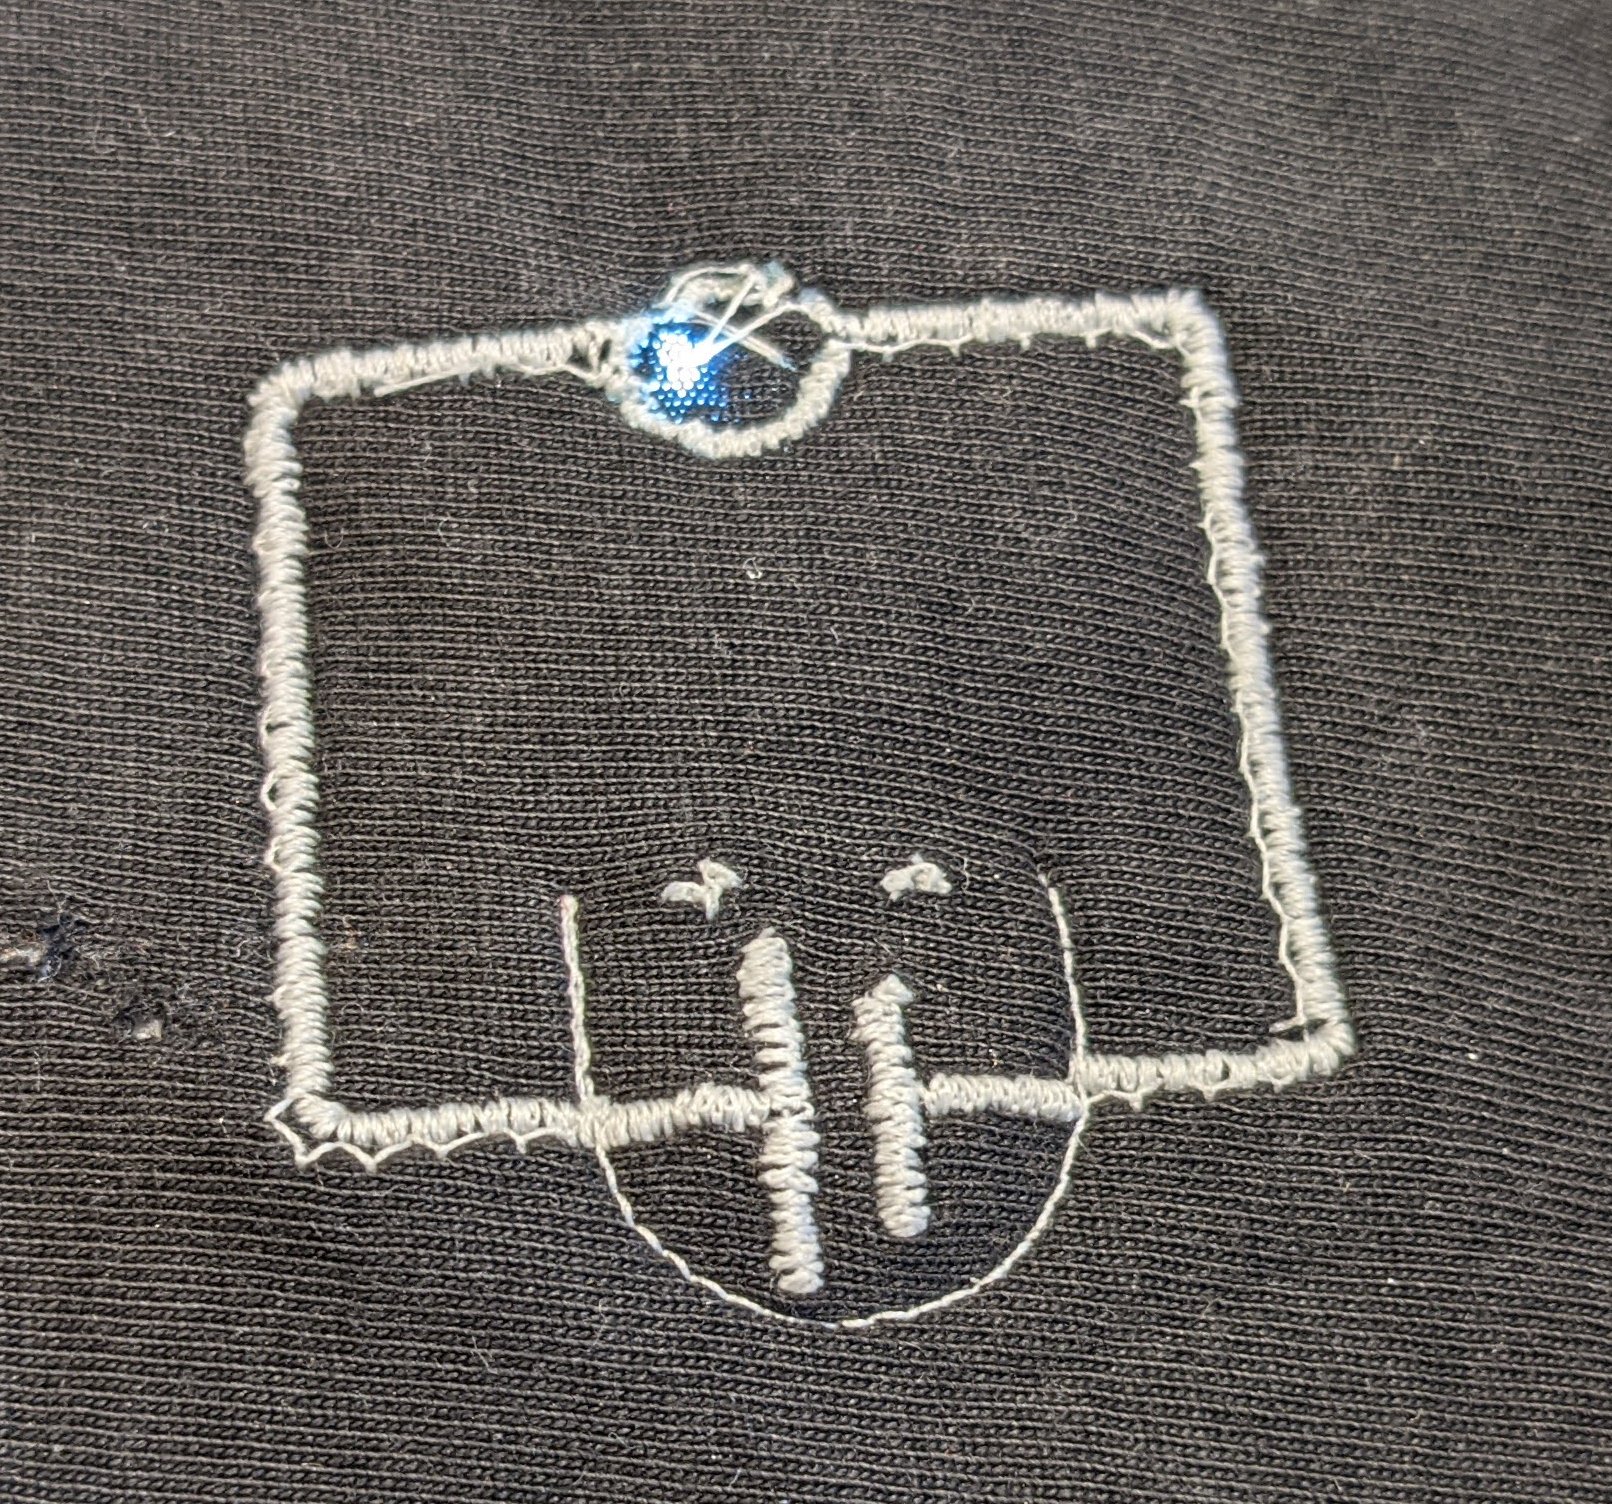
End result, front
On the front-side:
- pull messed up alignment of guiding stitches with the satin column
- the “X” from the lamp symbol is way off. Need to put it at further distance in future designs.
- the “+” and “–” symbols didn’t really work out well. I kind of suspected this in advance.
But most importantly: the circuit works, the battery has a good connection and the LED is lighting up.
Here’s another picture in the dark:
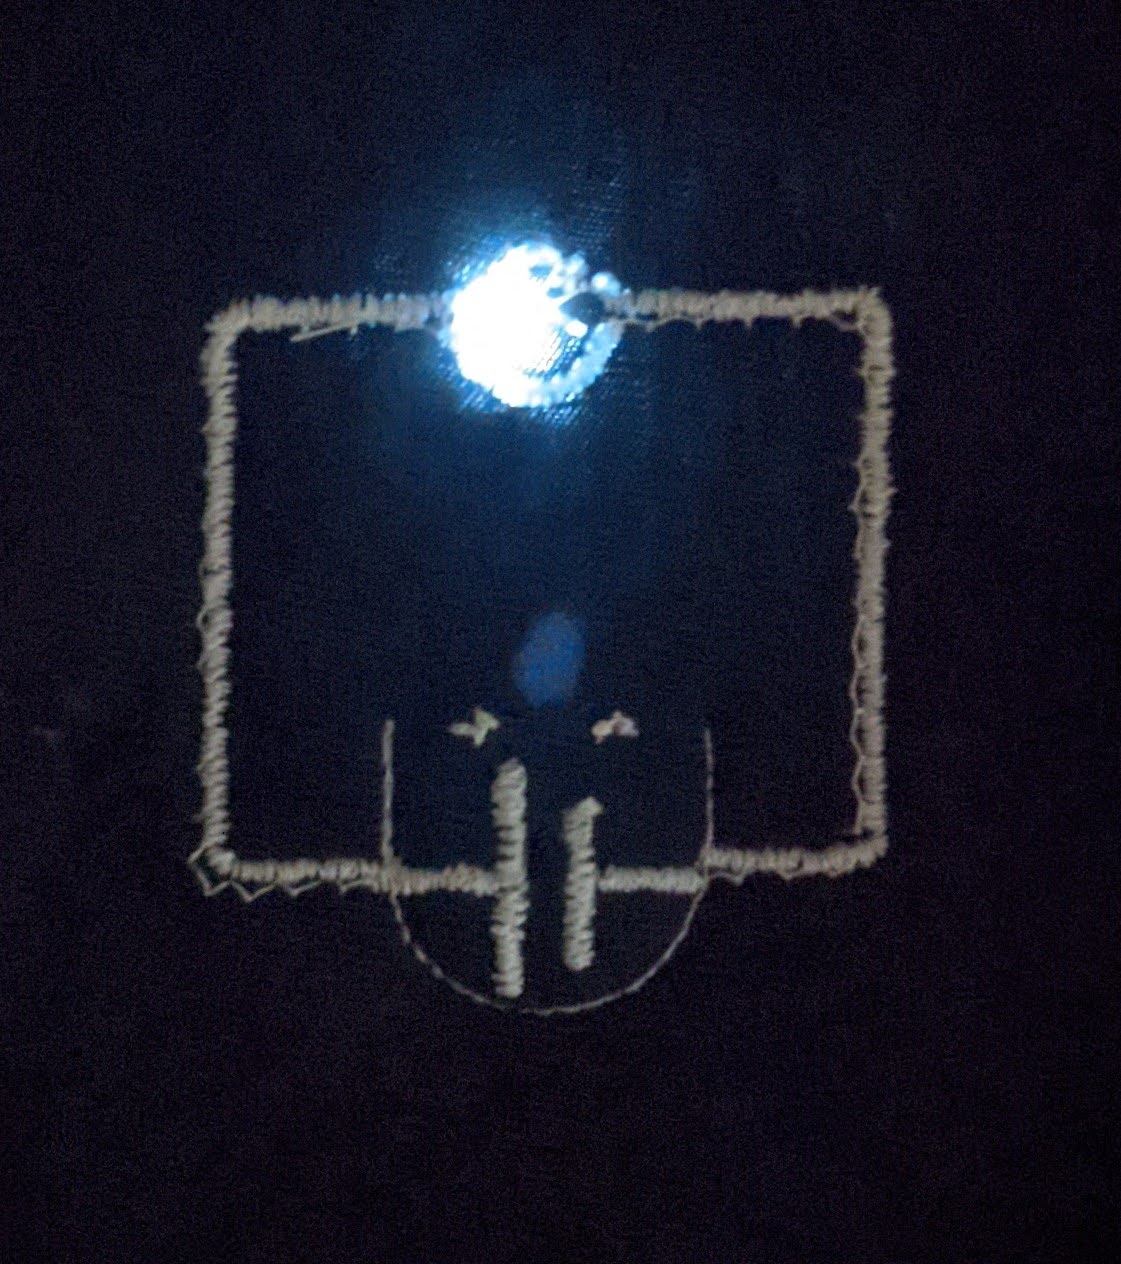
End result, LED light in the dark
Final notes
While there are many things to improve (and most embroidery projects aren’t successful on the first iteration anyways), I consider this a success, although the end result is probably not pretty enough to be presentable.
Here’s a summary of my learnings:
- compensate for pull
- make sure the sequin has sufficient safety margin from needle punches when designing the 2nd layer
- use pins / “stylefix” / running stitches for fixing the back cover fabric
- avoid too narrow text / symbols
- for guiding thread 3mm stitch spacing is rather too little, might also want to decrease thread tension for those parts